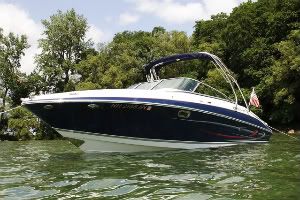
After jf210mpd asked a question about my LED install on another thread, I finally got around to getting some pictures and doing a write-up. I figured I would revive this thread as it was one of my primary sources while researching my project. Thanks again for all the ideas.
I went with all Oznium.com products for the lights. Excellent company in my opinion. As a testament, I first wired up the controller and lights on my workbench without any issues. I went to install in the boat and when i powered up the controller, I smelled something get hot. I then noticed the red lights were on no matter what the setting. I sent an email to the link provided with my order and explained in detail what happened. I got an email back the next day saying it was probably a defective controller and a new one was shipped that same day. No questions asked and they didn't even want the old controller back. In addition, being a novice electrician, I had several questions regarding their products and made several calls to their customer service prior to placing an order. They took the time to understand what I was looking for and walked me through my order to make sure I got what I wanted the first time. Excellent service.
My original plan called to run two circuits, one for red and one for white. I planned on replacing my wiper switch (unused) with a two way switch and wiring the two circuits to that. After discussing with Ozium.com, I realized I could get an RBG (million color) option on one circuit for less cost than running two separate circuits. However, the standard controller would revert back to it's pre-programmed mode during every power on. I primarily wanted static red lighting. Oznium.com recommened their Freedom RGB Controller. It has 11 modes (4 cycling and 7 static colors), comes with a handheld wireless remote, has the ability to adjust brightness, and has a memory card to store the last setting (allows me to keep it on red without having to adjust it each time I power it on). Overall, I got more functionality and easier install all for a lower cost. Once again, thank you Oznium.com. Mated to the controller, I have three 12 inch Waterproof Ribbon LED Strips in RGB (million color). One is mounted below the helm and one each mounted above the rear drink holder cubbies (all out of sight). I have plans to install two more, one each above the front drink holder cubbies. I also plan on redoing the wiring under the helm as I think it's a rat's nest. I should have taken Sushi's advice and used terminal blocks. I will probably change that out this winter to clean it up a bit. In addition, I have two Tri-Chip Ultra Flexible Waterproof LED Strips (12 inches) in Cool White mounted on each side of the engine bay. I went with the Tri-Chips as Oznium.com said they were the brightest waterproof LED strips they offer. These are hooked up to the courtesy light circuit (not through the controller) as they serve more of a utilitarian purpose. They also look cool.
Regarding the install, it wasn't too difficult. I think it took me about half a day broken up into a couple different outings. As others have said previously, fish tape would help. I actually used some residential grade eletrical wire as my fish tape since I had some laying around. Also, I found the glue on the strips to work fairly well. I had one spot that didn't want to hold, but a little dab of 4200 fixed that. I used double sided 3M tape to mount the controller box under the helm out of sight. Another advantage of the Freedom controller is you can mount it out of site and use the remote to change settings when desired. And the 3M tape holds it securely without drilling any holes. I used Ancor marine grade 14/5way wire for the RGB (million color) lights. These require 4way wire (red, green, blue & white), but I got a decent deal on the 5way stuff and left one wire unused. I know the 14ga is way overkill, and it provided some difficulty terminating to the LED strips (another reason I want to clean up with terminal blocks this winter). However, it was all I could find in marine grade in at least a 4way sheath at a reasonable price. I used Ancor marine grade 16/2way wire for the Tri-Chip Strips used in the engine bay.
Here are some pics of the finished product. The pictures were taken inside my Toybox at dusk, so it wasn't completely dark. Also, trust me, none of the lights are truly as bright as they appear in these photos. They are all softer in real life, with maybe the exception being the engine bay lights. Those Tri-Chips are bright! My apologies now for the pictures. I obviously need some training on my wife's camera.
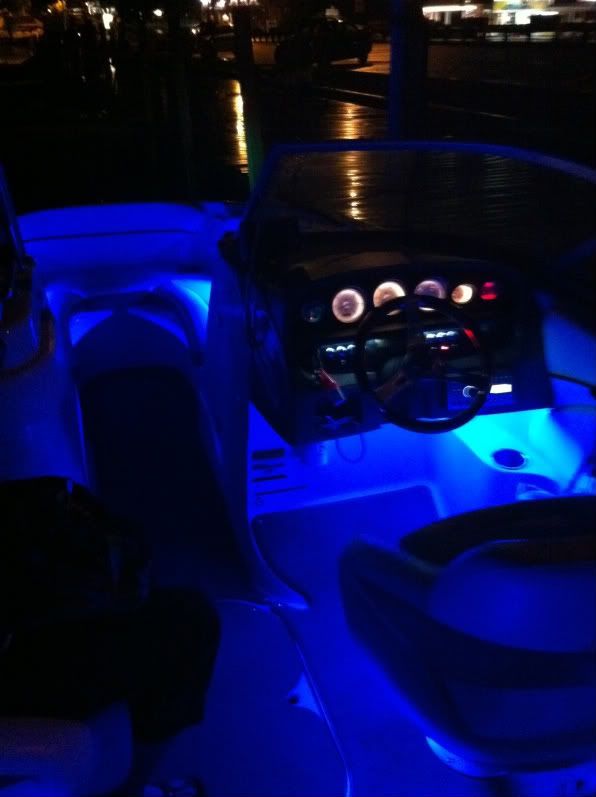
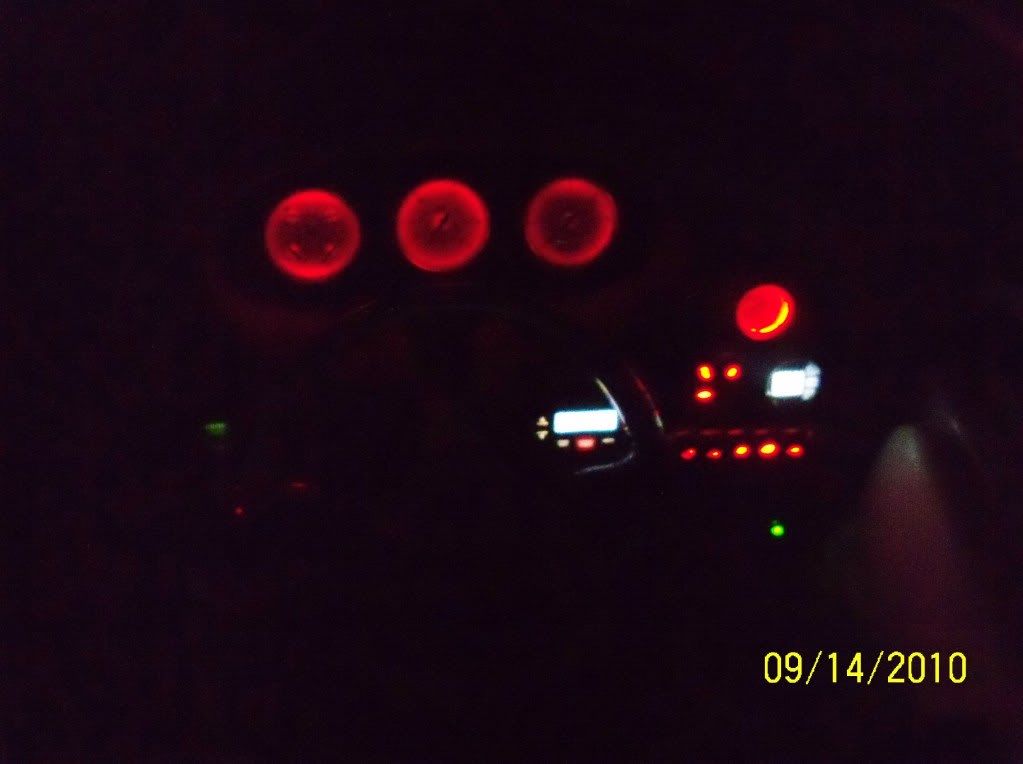
Dash with instrument lights converted over to red LED (Superbrightleds.com). Also, you can't make out the display on the upgraded depth gauge with water/air temp (Faria), but it was 82 degrees when I shot this photo.
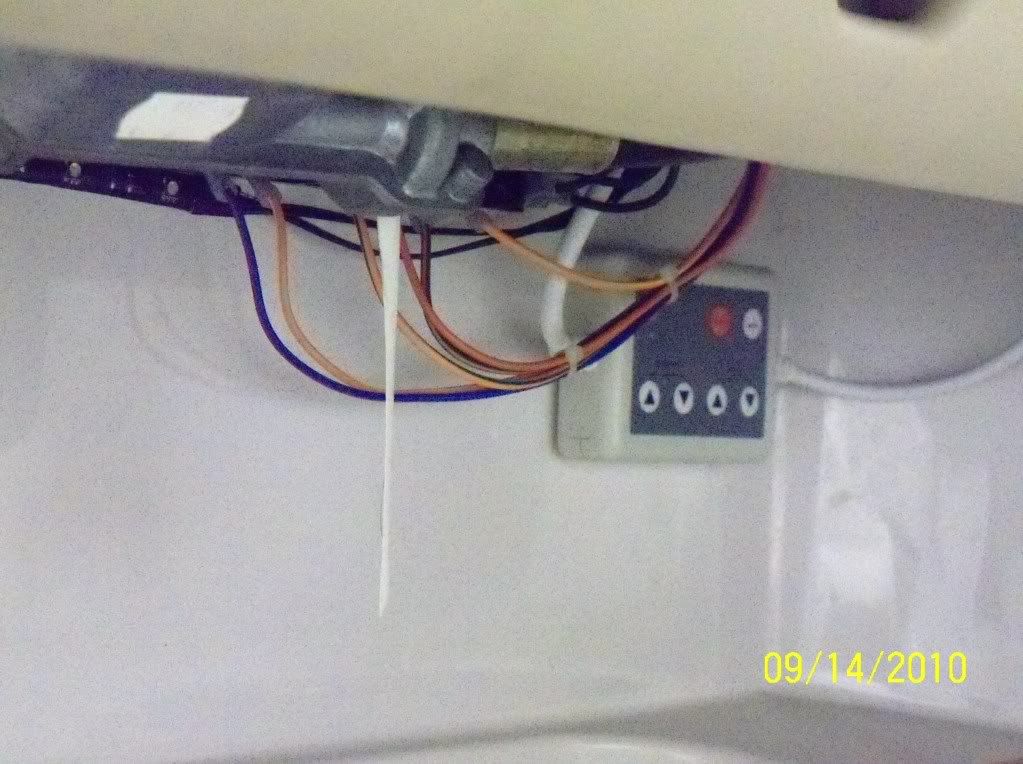
Freedom RGB Controller mounted up underneath helm
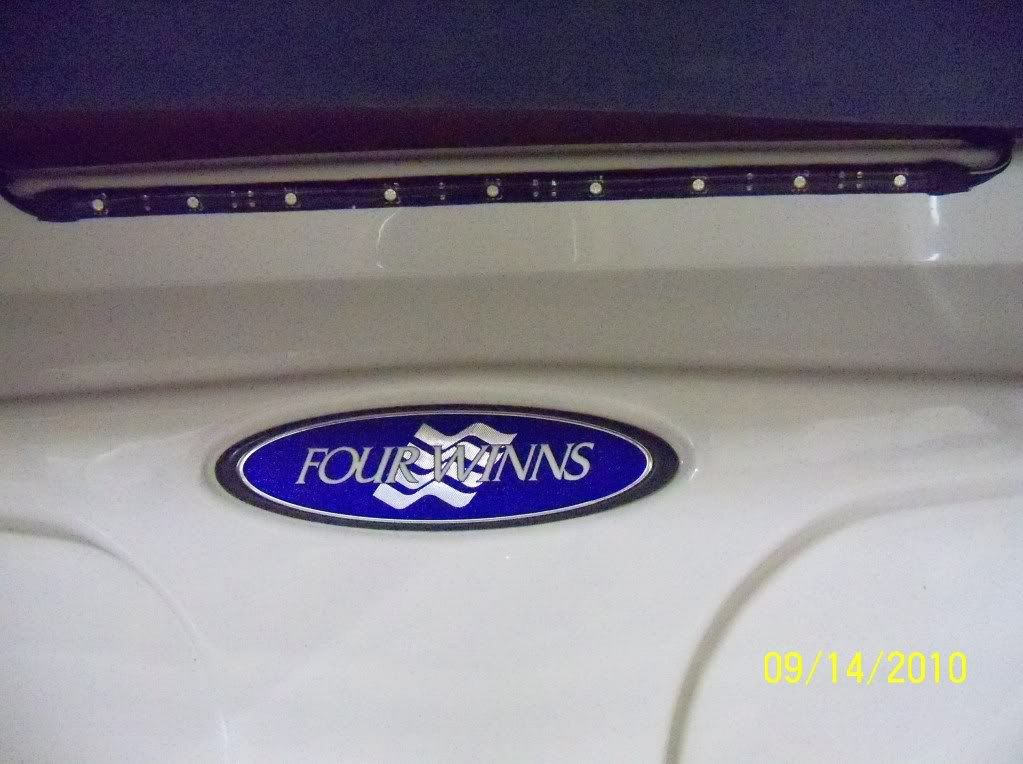
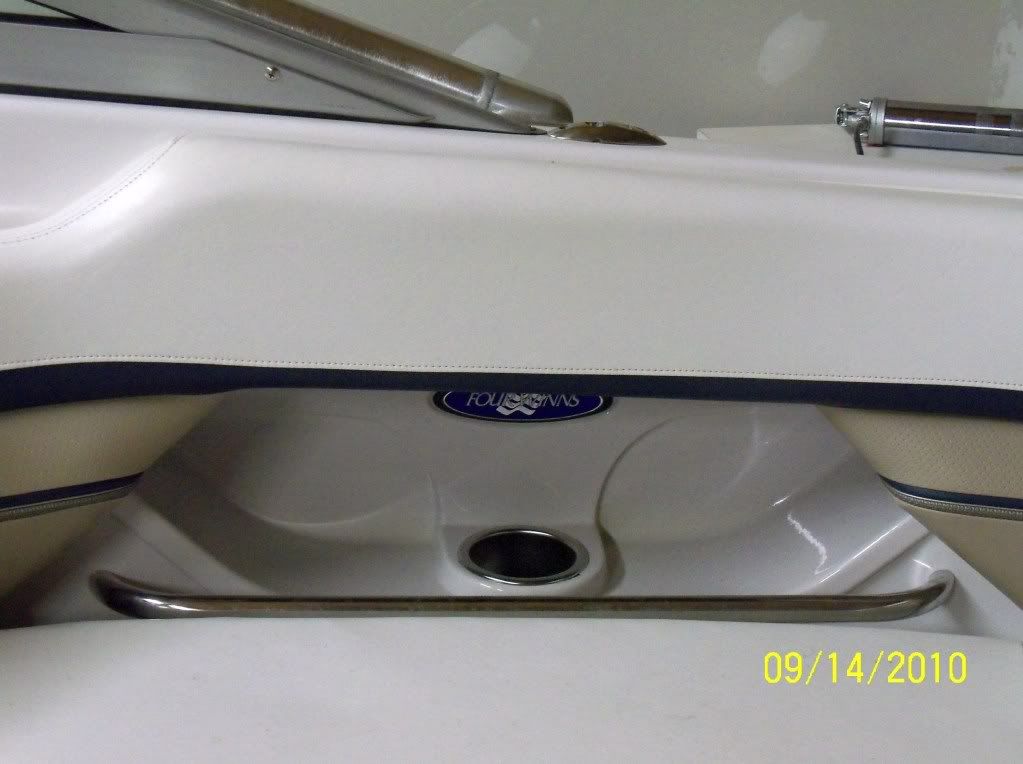
Ribbon Strip LED Light mounted up in cupholder cubbie (picture from laying down on seat)
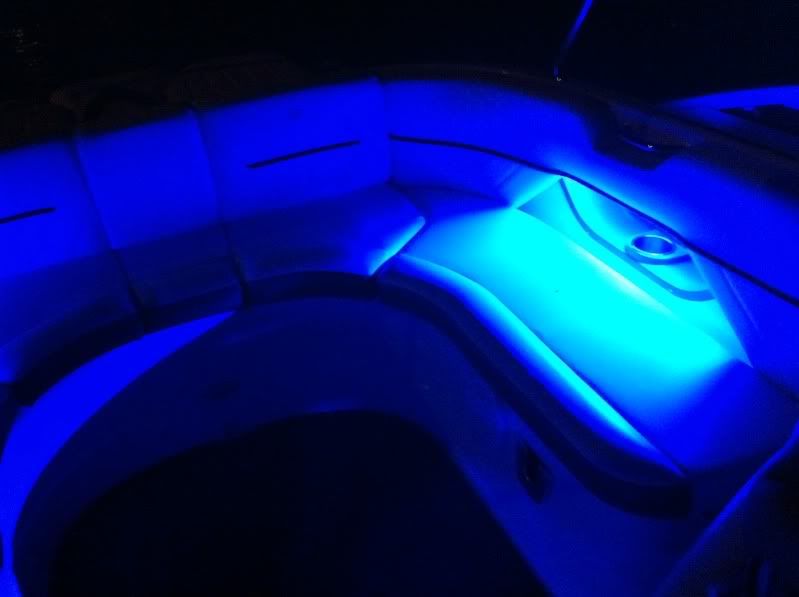
View of cupholder cubbie from opposite seat (shows LED strip is mounted out of sight)
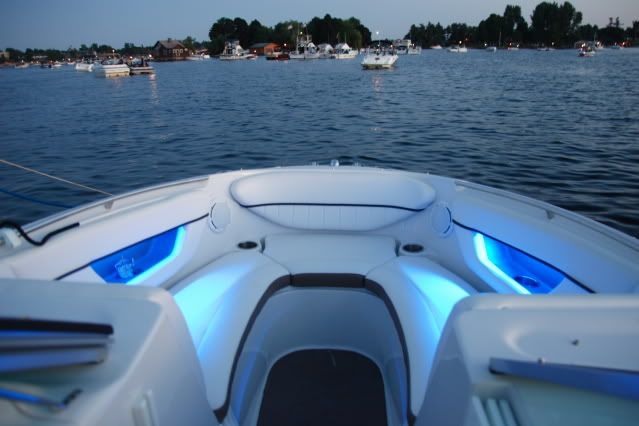
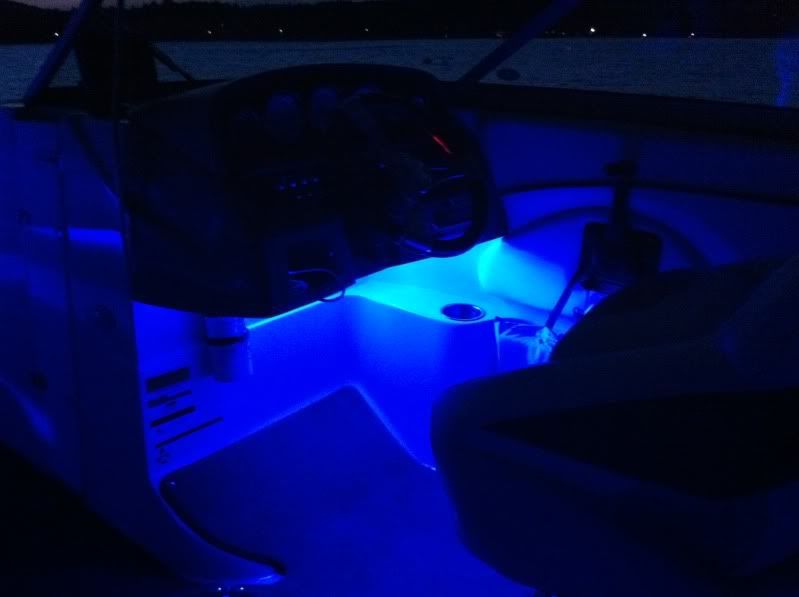
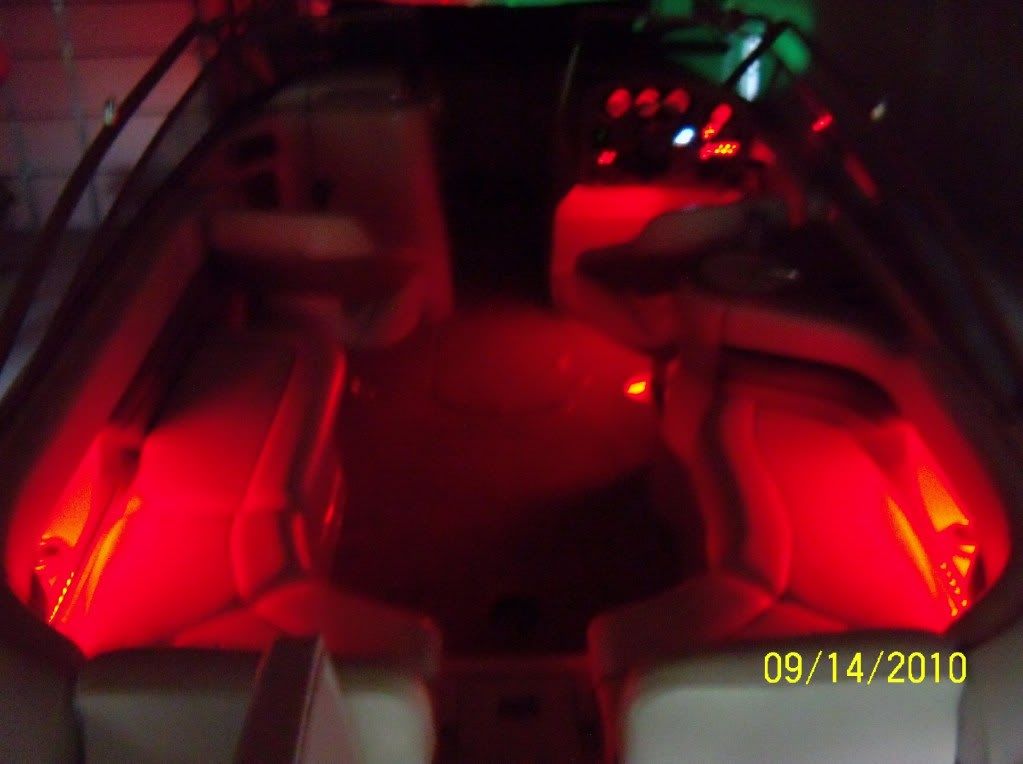
Cockpit RGB LEDs on red (my standard setting. . . once again, it's not near this bright in person)
Cockpit RGB LEDs in green

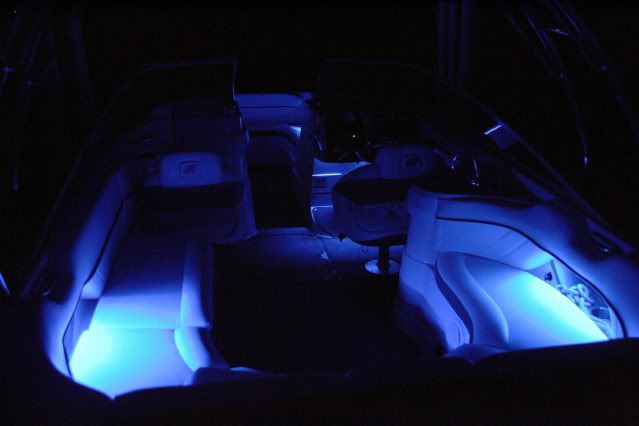
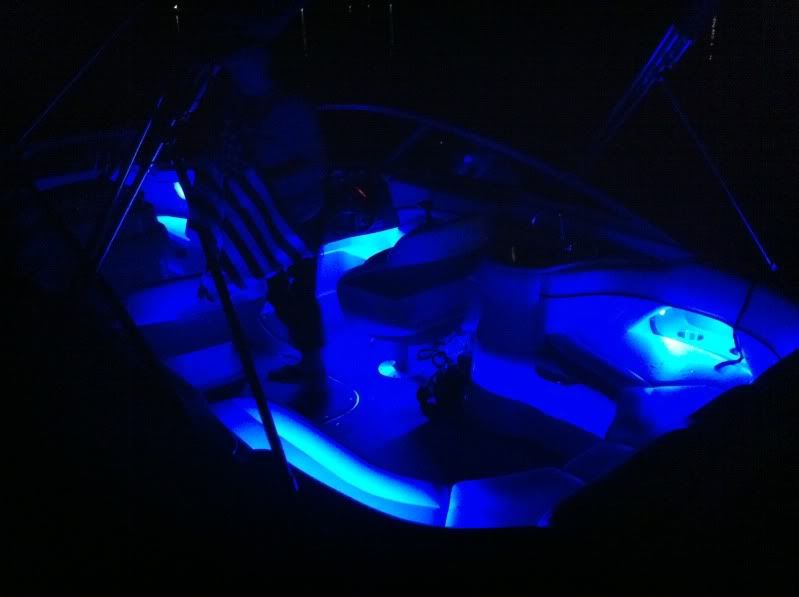
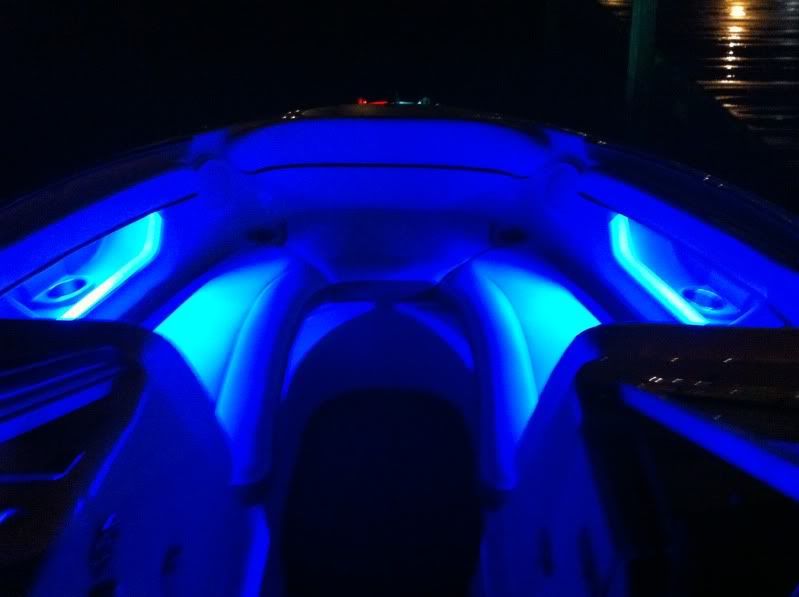
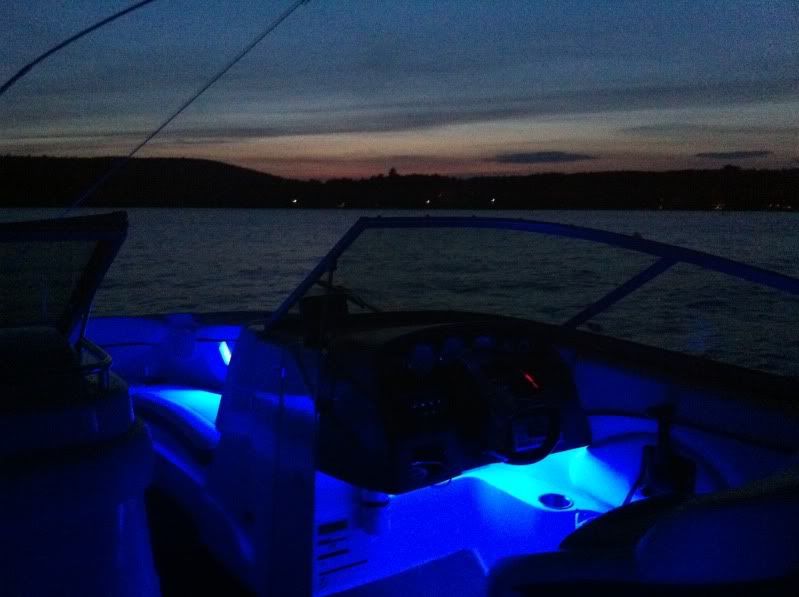
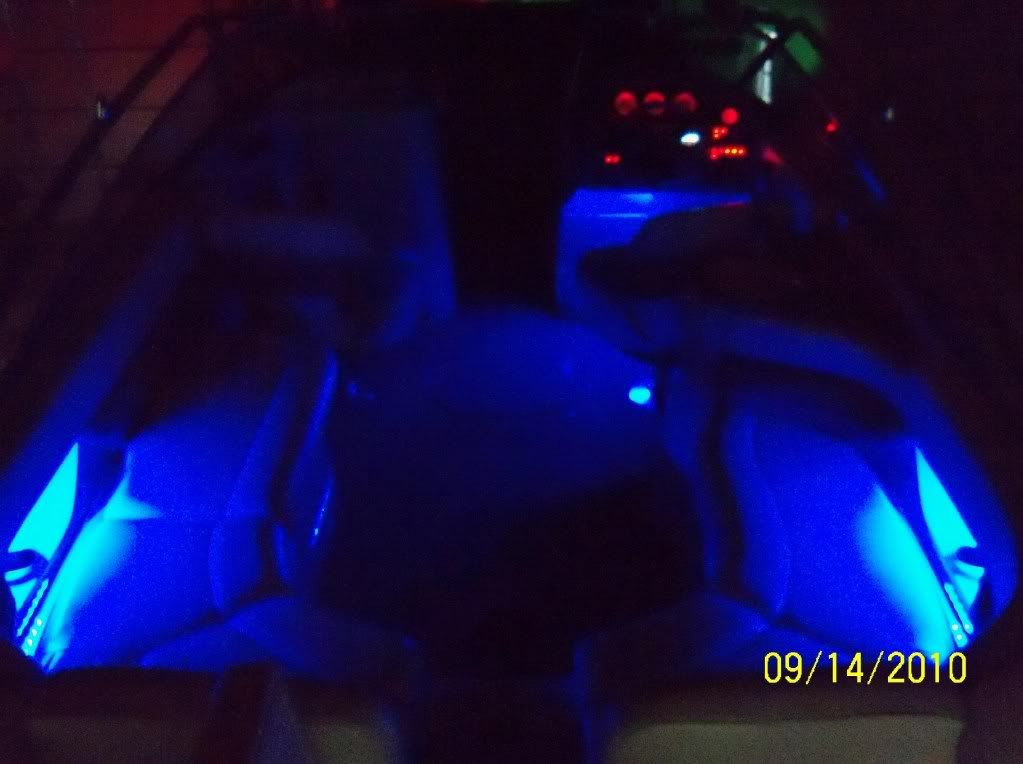
Cockpit RGB LEDs in blue
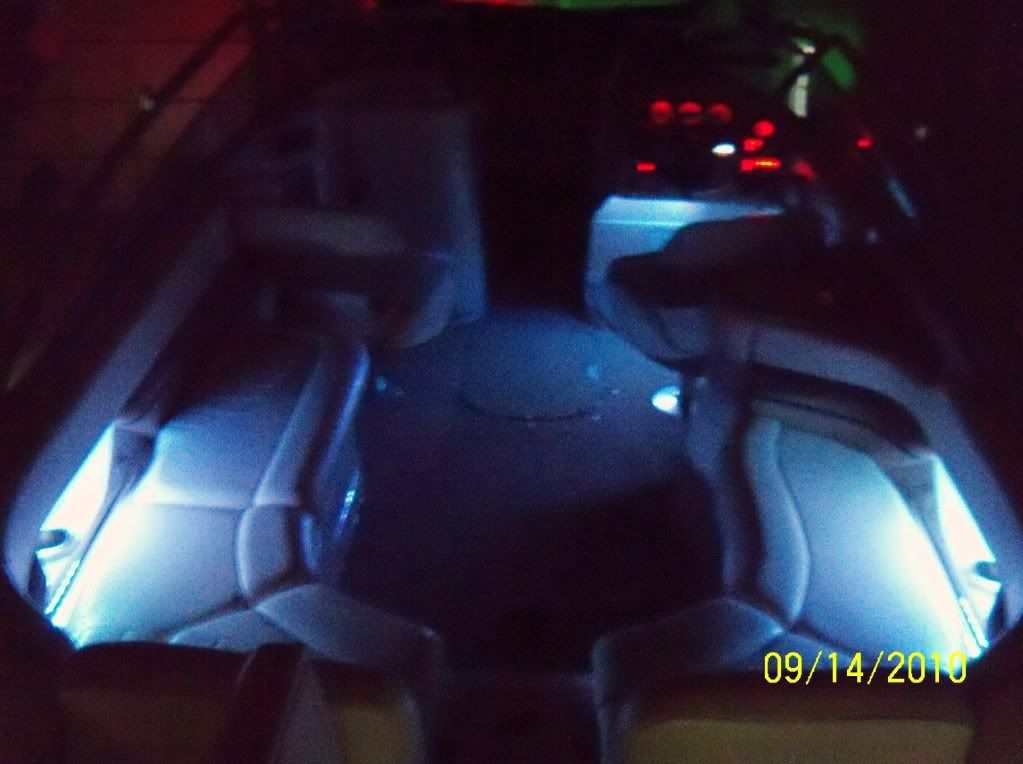
Cockpit RGB LEDs in white
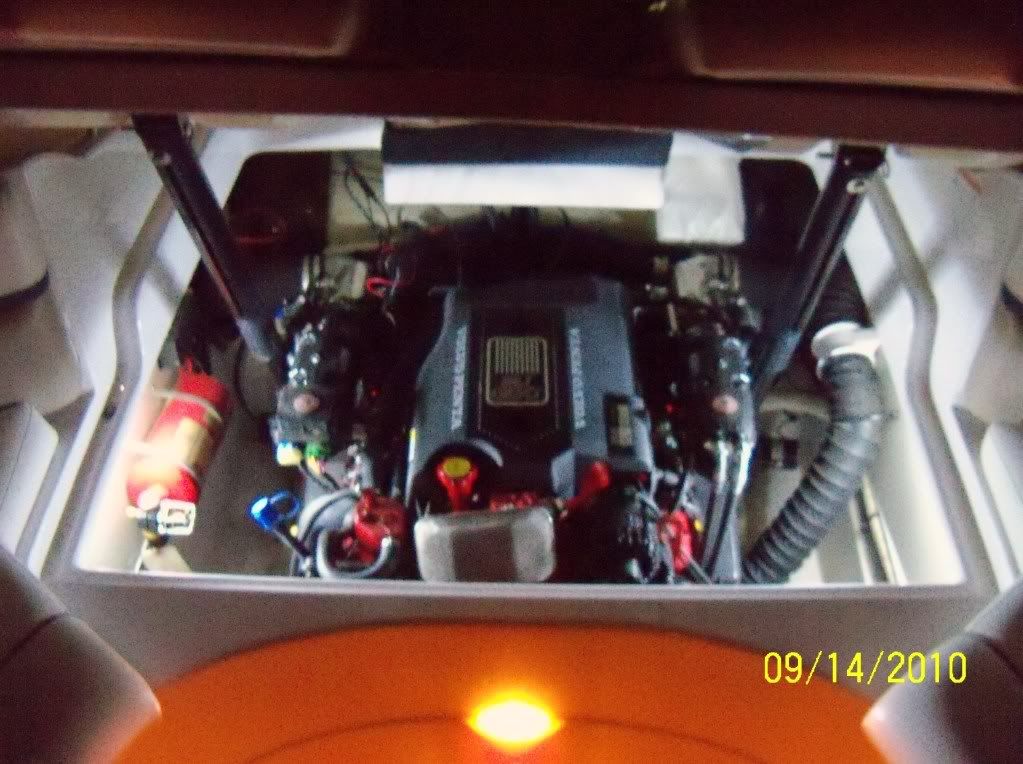
Engine Bay White LEDs (wired to courtesy light circuit)
All in all, I have less than $200 in LED lights/controller (including two extra RGB strips for front cupholder cubbies), and probably another $200 in wiring, connectors, tape, etc. Being a novice, I went overboard and got enough wire/supplies to do this project once over again. I definitely could have saved a few bucks in this area, but I got plenty of spares if any of my buddies attempt to tackle this type of project.
I hope this helps anyone who is thinking about this type of project. I would recommend it as it is relatively inexpensive and easy enough for a novice to tackle (with plenty of homework and preparation).