Thought i'd best start a rebuild thread for my Vista, been long enough.
"Cloudy Bay" was bought in November and I have been busy on it pretty much constantly since. Everything seems to have a limited timescale in my life so i'm flat out trying to get things moving and sorted.
There was a rush to get the engine running before Christmas so i could get it out of the Marina without further charges, this was done in mid December. I've given it a full service and tune up and also replaced the HP fuel pump, seems to be running ok now - bar a small oil leak which i've yet to trace and sort.
On Jan 8th she was lifted out of the water and i had around a month to get things sorted. I'll probably overrun by a week or two as the weather here in the UK has been constant rain and wind for the last 3 weeks or so, bar the odd day or so i've struggled with the weather.
Forgive the poor iphone pictures, i know they're not the best but will hopefully show what i'm trying to achieve - i bought the boat
really cheap and couldn't say no - knowing it needed work and had been neglected. I'm pretty hands on and do everything myself, from the engine to polishing to
upholstery.
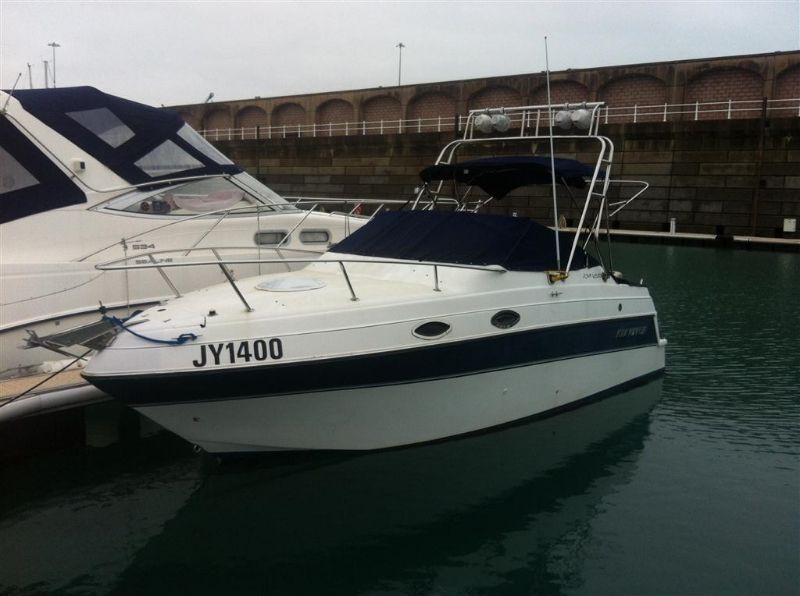
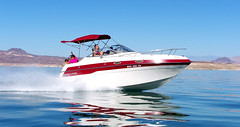
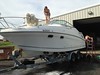
So, this is her:
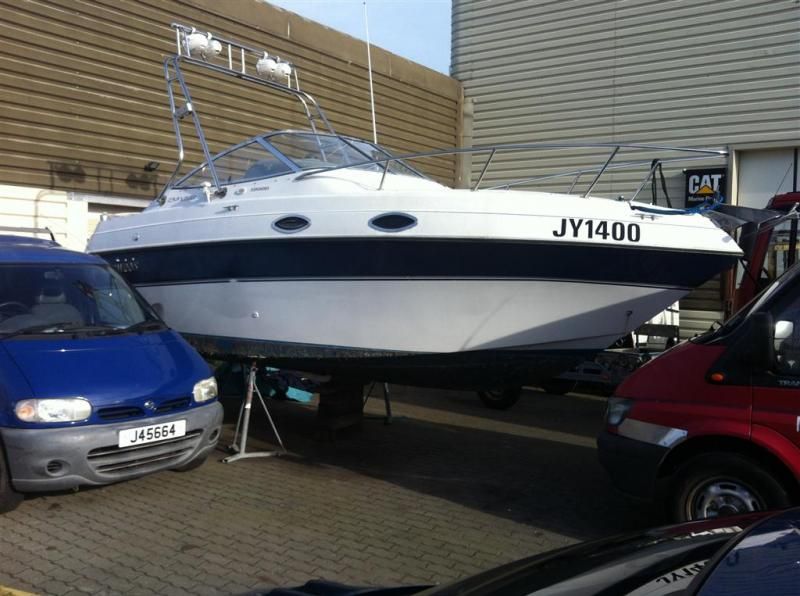
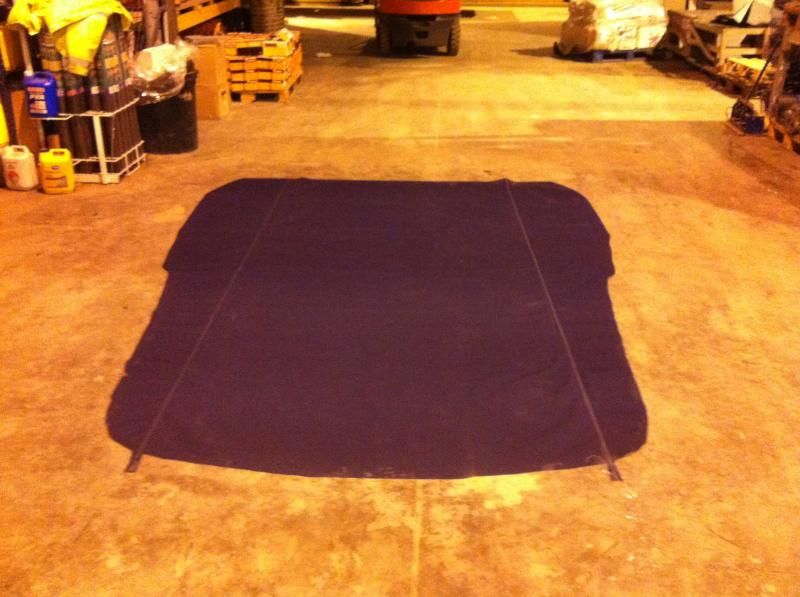
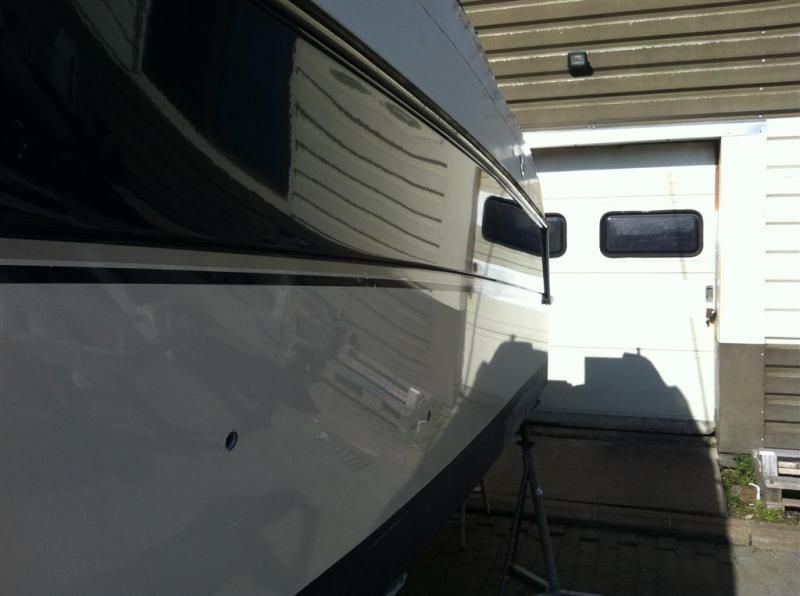
And now in her temporary new home:
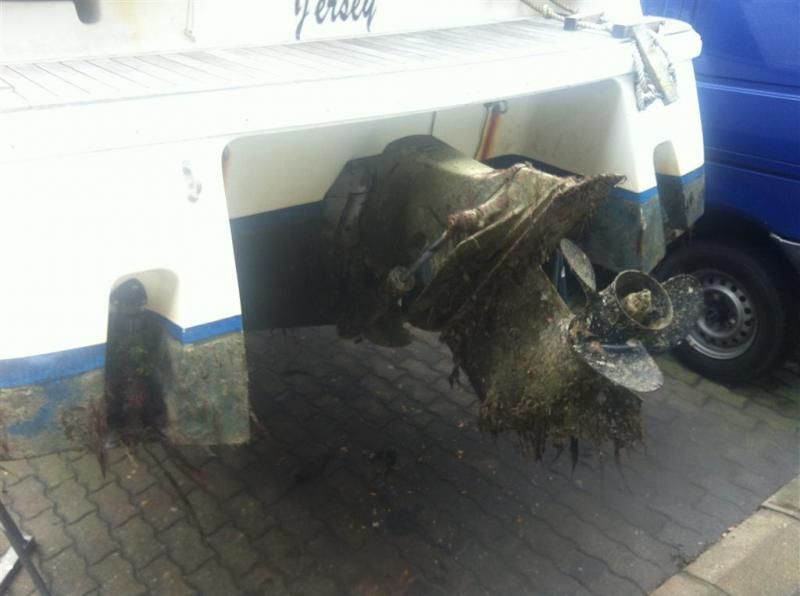
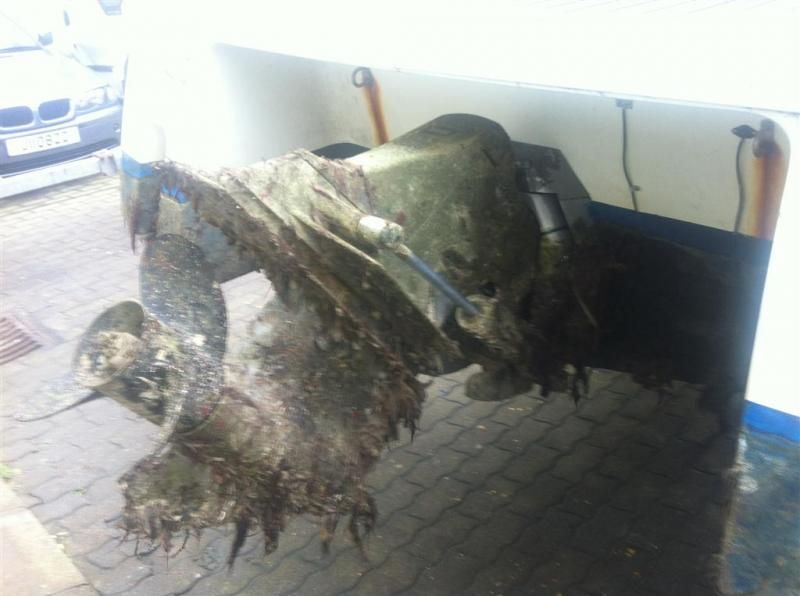
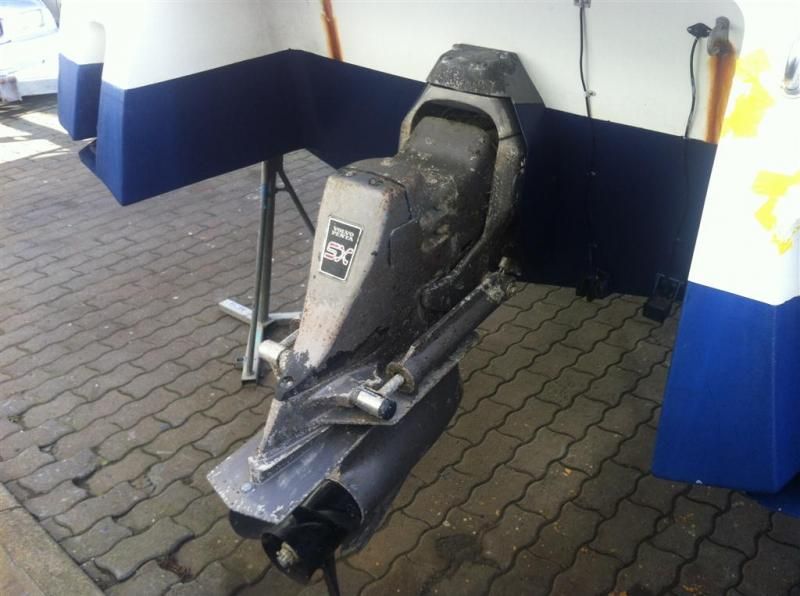
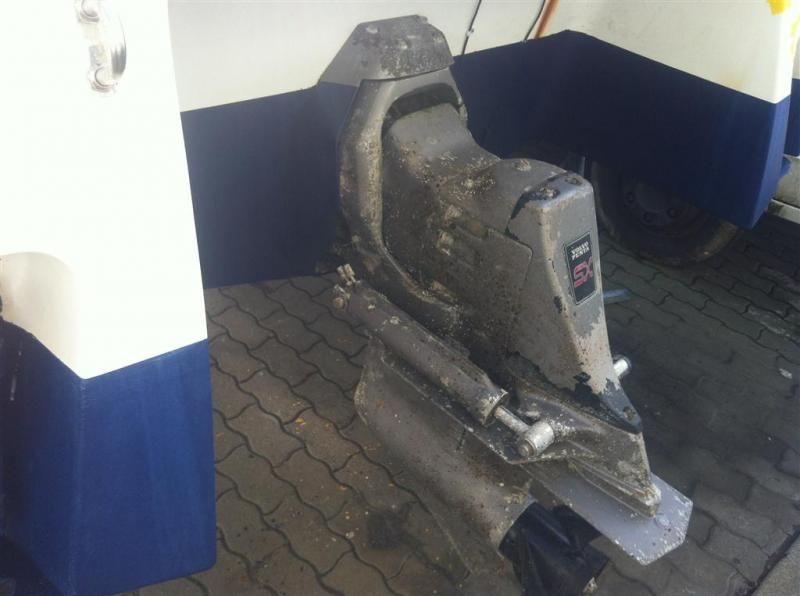
We're saltwater over here, so a bit of growth on the drive(!) must've been a while since last cleaning/antifouling had been done:
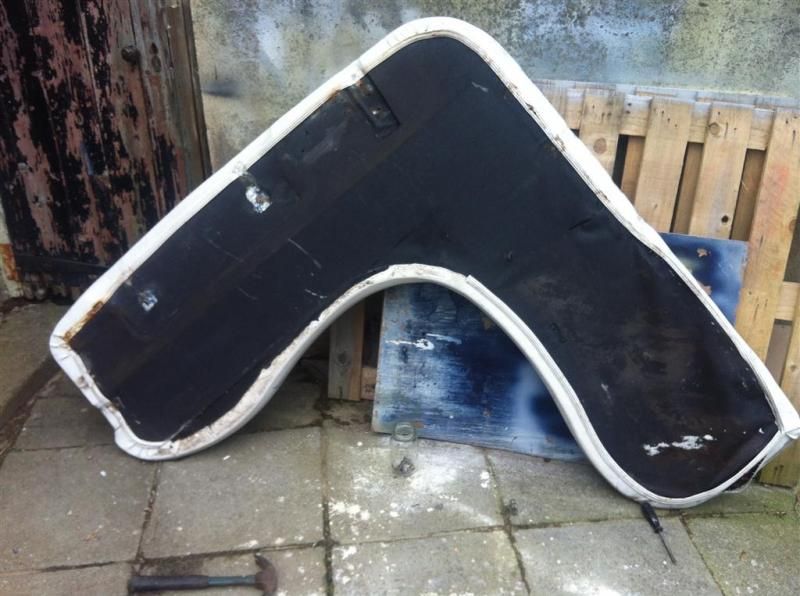
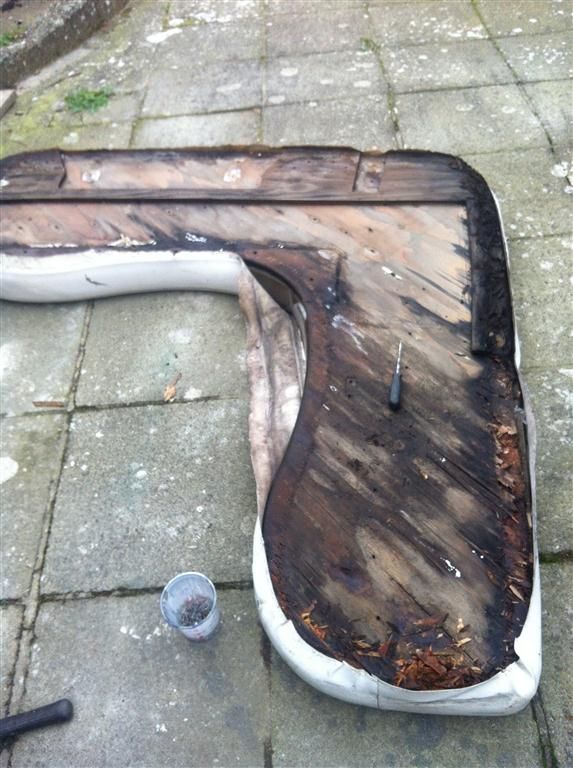
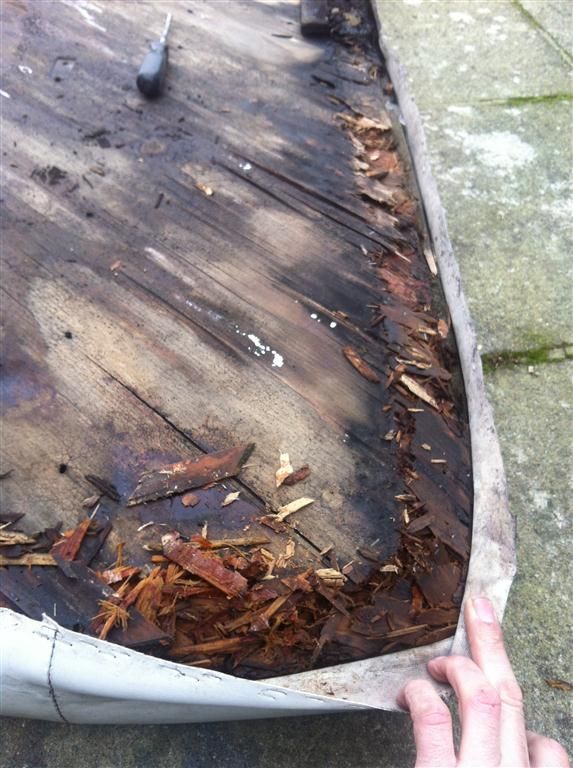
The tonneau cover on the boat is very tatty and probably the original, as it's stretched really badly. it's patches over patches and rips all over the place so i'm going to make a new one. need to get this sorted before the seats as it leaks like a sieve!
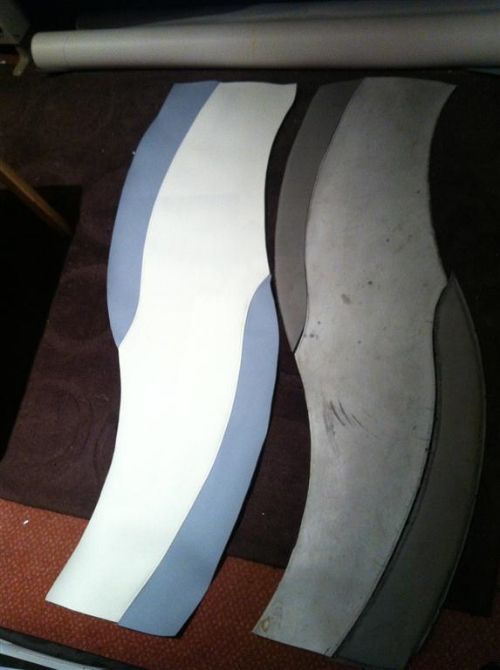
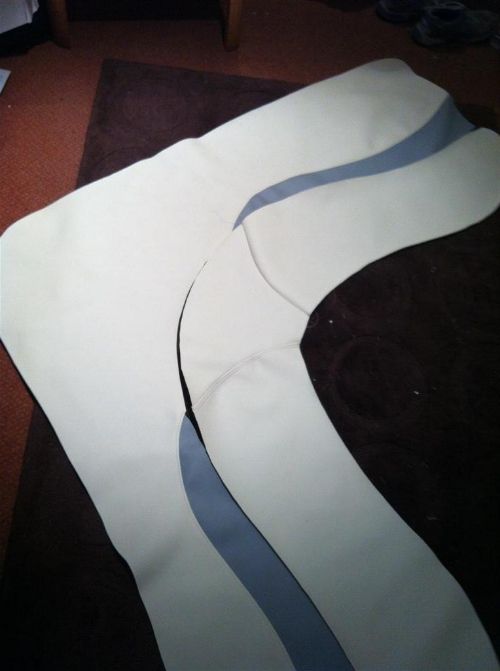
Best way i've found is to make templates of the windscreen/boat etc. out of heavy gauge builders polythene and then transfer these to the material. I've always used Sunbrella plus and definitely rate it - so bought some and got to work. Template made and being transfered:
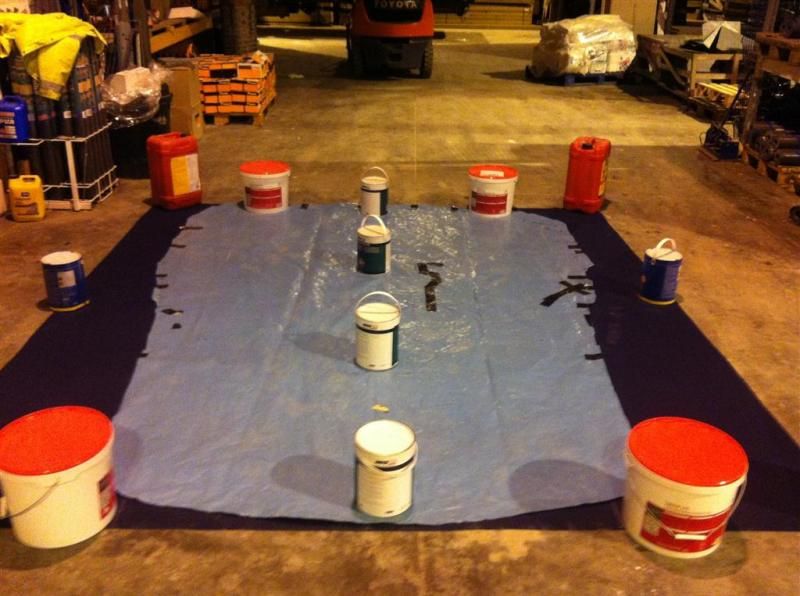
Main piece cut out.
I had to do two seams rather than one central one as i've only a standard arm machine, not a long arm one - i wouldn't have got the fabric through otherwise! It won't make a difference, anyway. I'll post more pics on this soon....
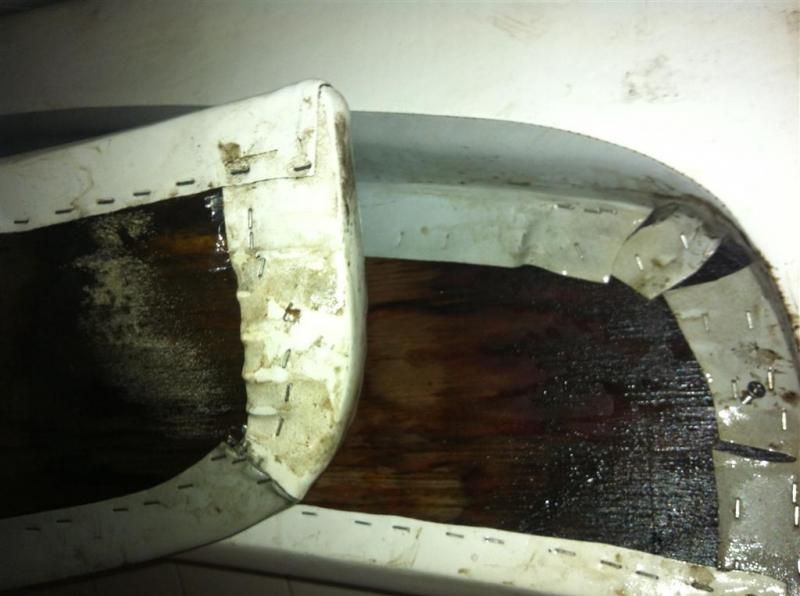
Next, the seats came out. all were absolutely shot to bits, with all of the plywood cores rotten and needing replacement too.
Front seat backrest and insert. Wet to the core:
Inserts:

Two triangle covers for the mechanism:
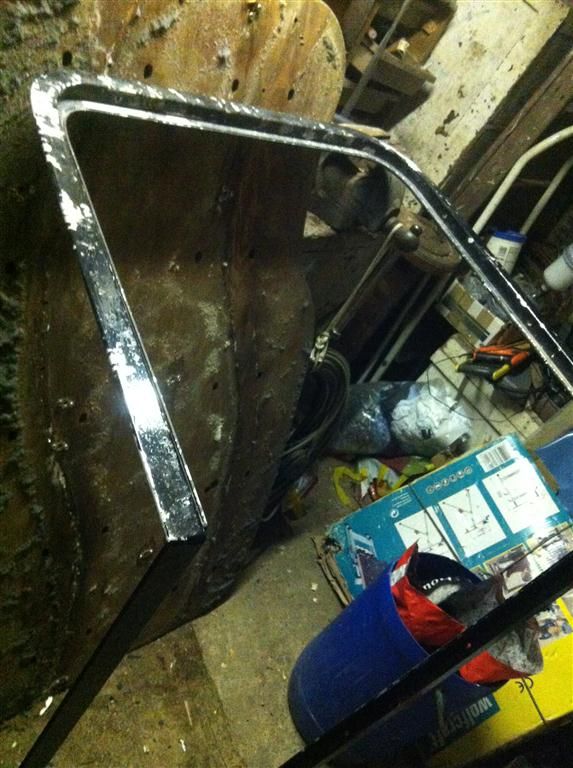
Corroded Brackets:

Ruined Fabric:
New piece started:
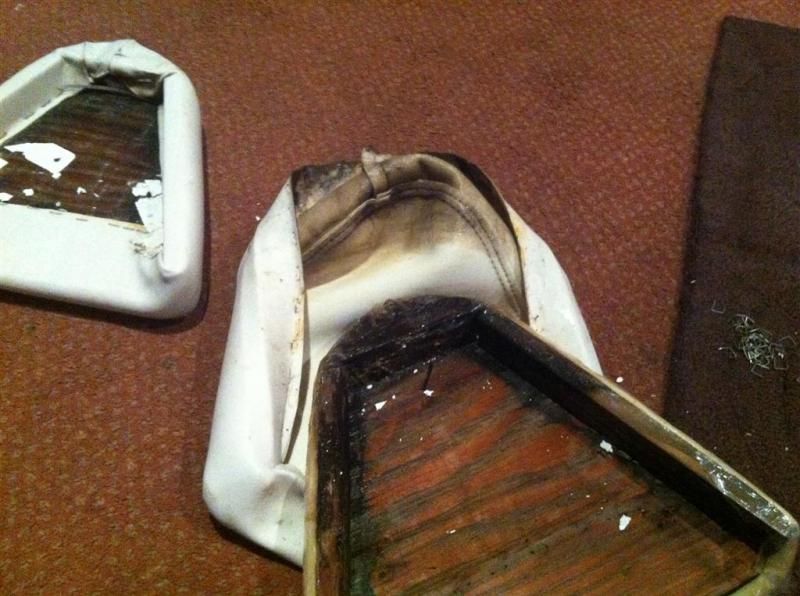
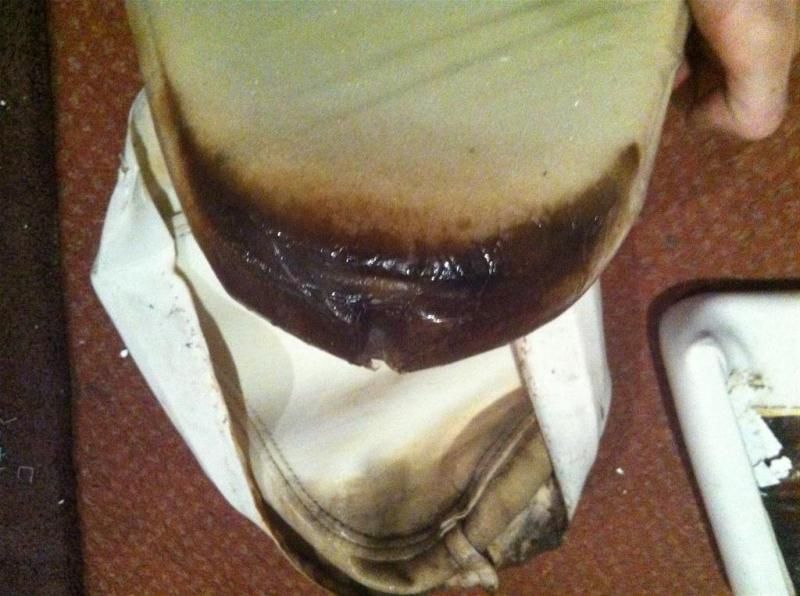
The base of the front seat wasn't much better!
Staples removed - simply incredible amount of them too, if anyone's ever done this!!
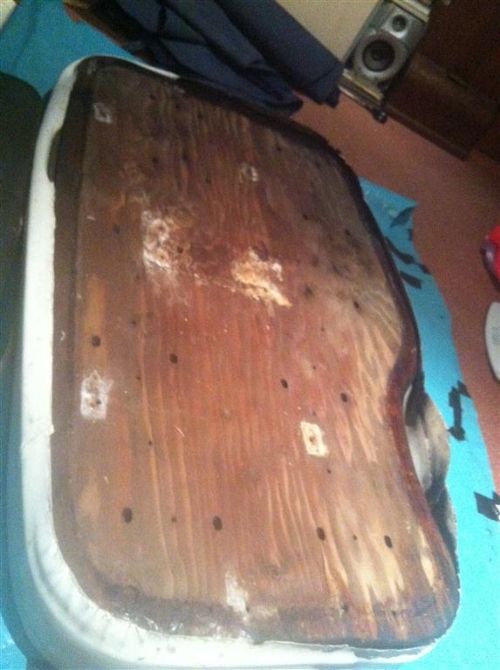
Same story as the backrest, soaked, rotting ply, fixings started to pull through the ply too.
Base started, old vs. New:
Back seats are the best though. Looks tired enough:
Yet thousands more staples removed:
Falling apart in my hands:
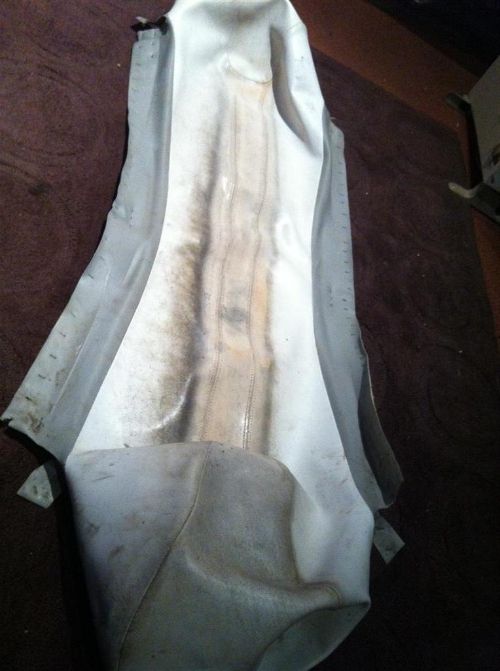
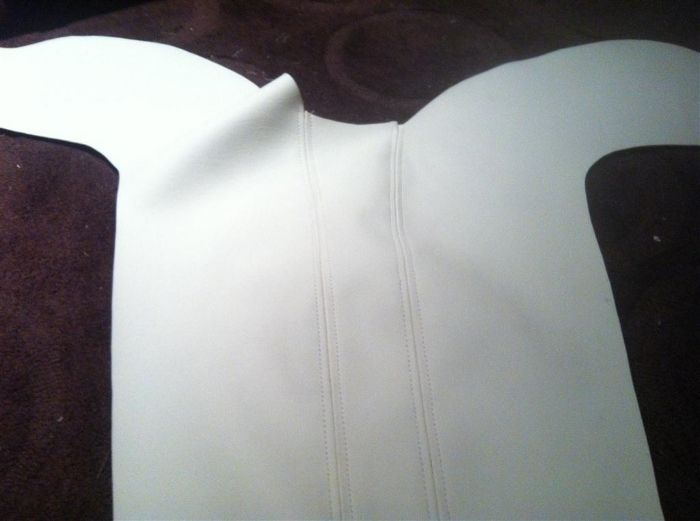
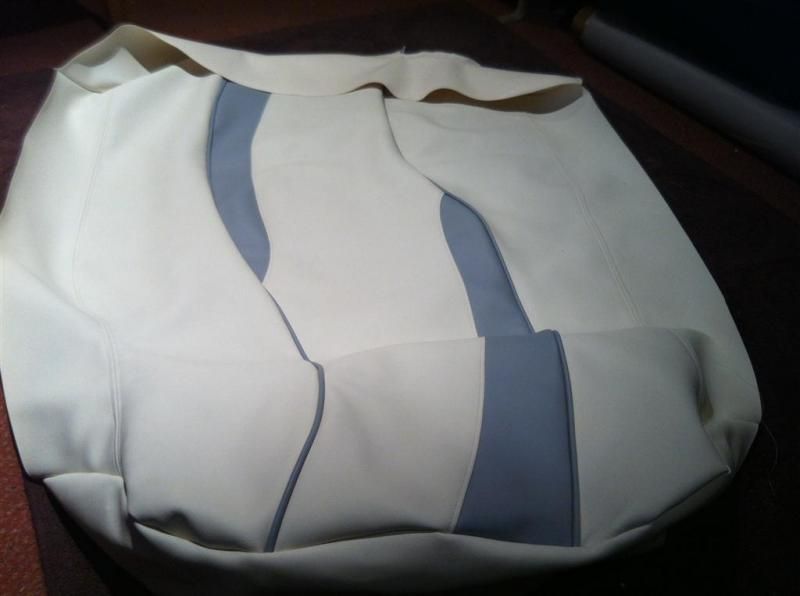
I've actually finished stitching the front seat and backrest now, and half finished the base of the rear seats. I opted for Off-white (Like a soft creamy colour) Nautolex fabric with Cinder Grey for the inserts and piping - and wanted to keep the design the same as i quite like the FW stitching/pattern on the seats.
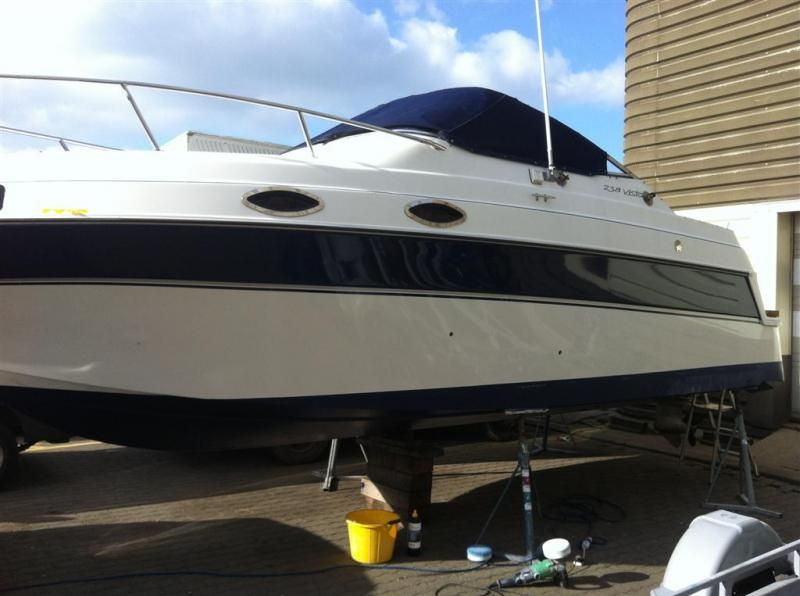
The Tonneau cover is half made now, and i've Power washed/Antifouled the hull and started polishing.
Thought i'd get the worst pics out the way first, ha ha. The next to follow will be nice, as they'll be of the restitched seats and things starting to look nicer


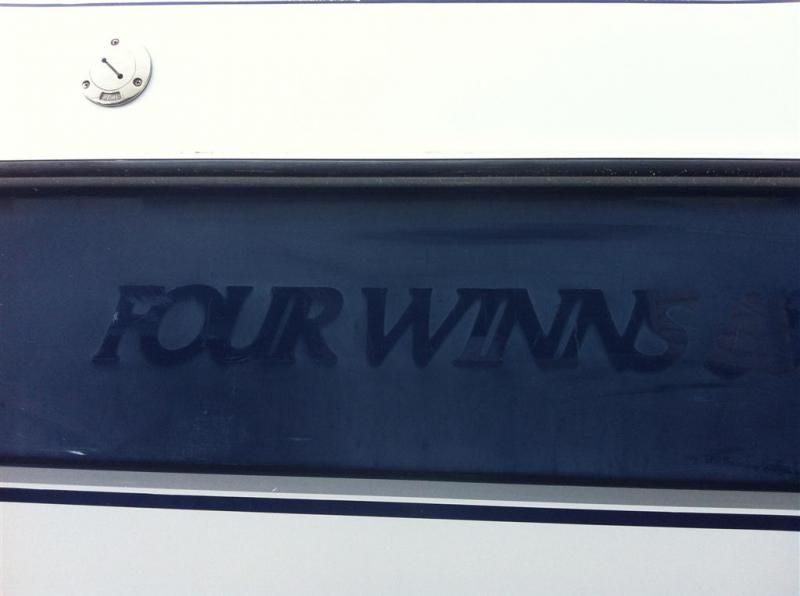
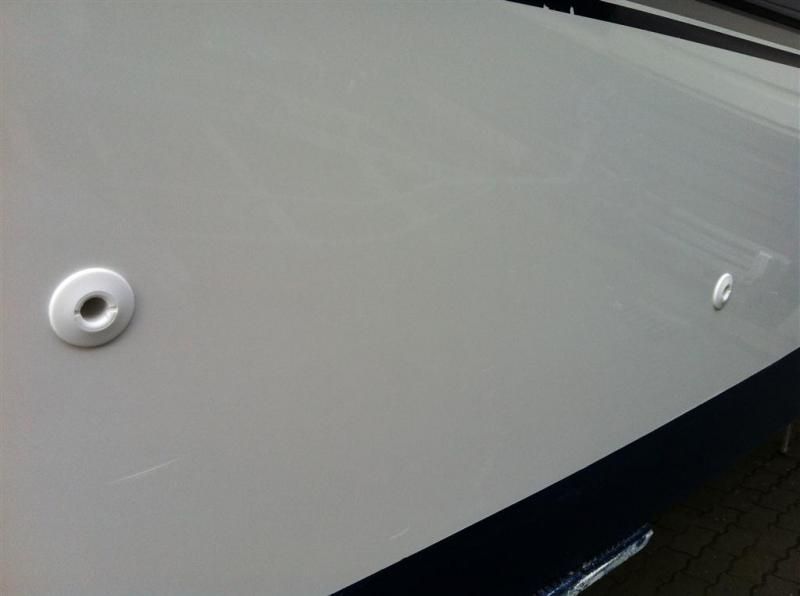
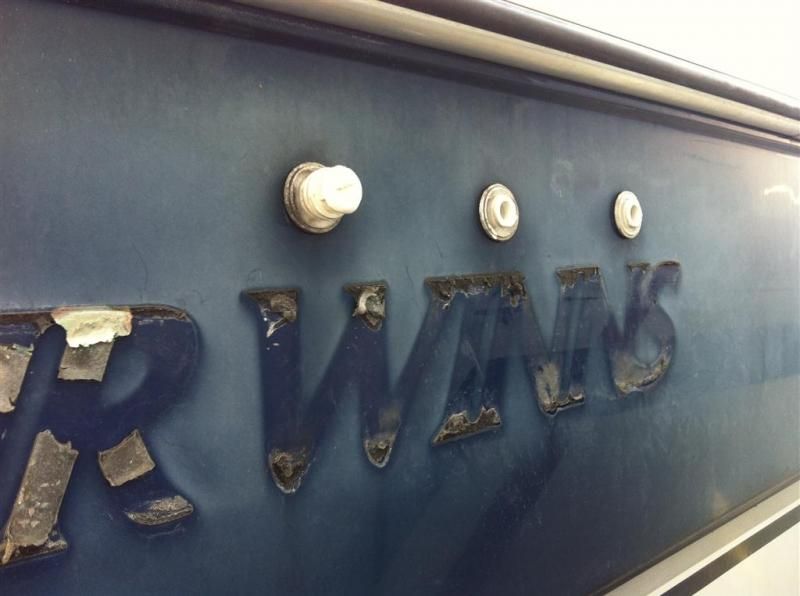
One thing to ask though, does anyone know of anywhere that i can get replacement silver name badges for the back? These ones here:
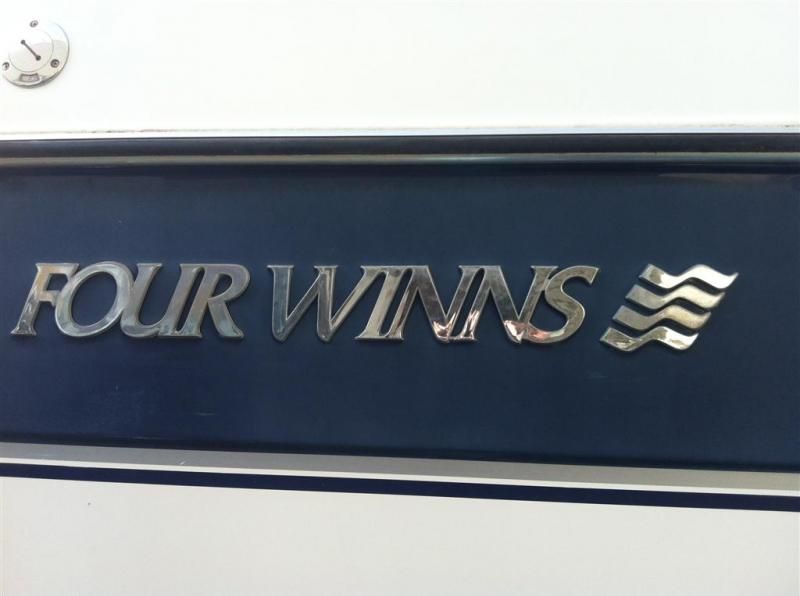
As they're looking very tired. Great Lakes Skipper has the "Four" and the logo listed on ebay, but not the "Winns"!! I can't seem to get them replated in the UK either...

Will post more pics soon.


