Here are the install pics!
Before starting anything, I checked out the areas on the inside of the hull and found that the lights would work best (for not interfering with anything) just below the bow cleats. The factory wiring is right there also so it would be easy to wire them.
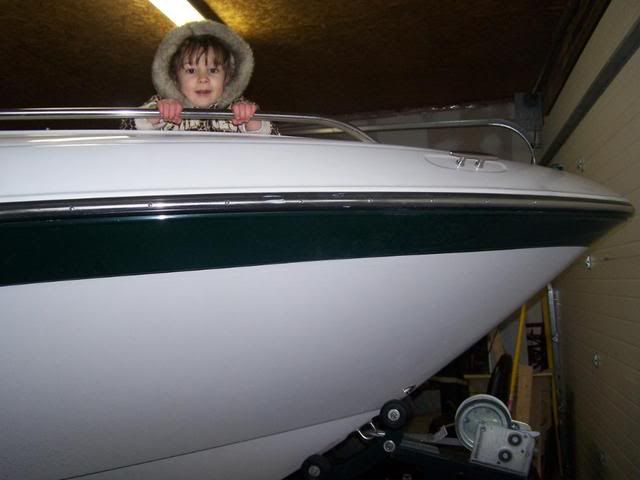
Before
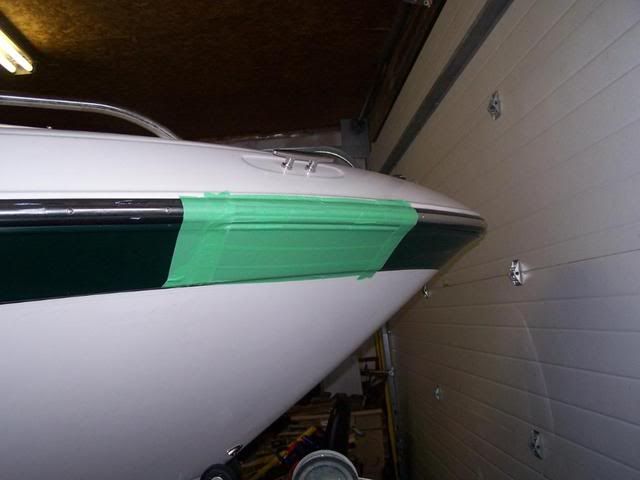
Tape Applied to Try and save the hull from scratches (Notice I said TRY!!!)
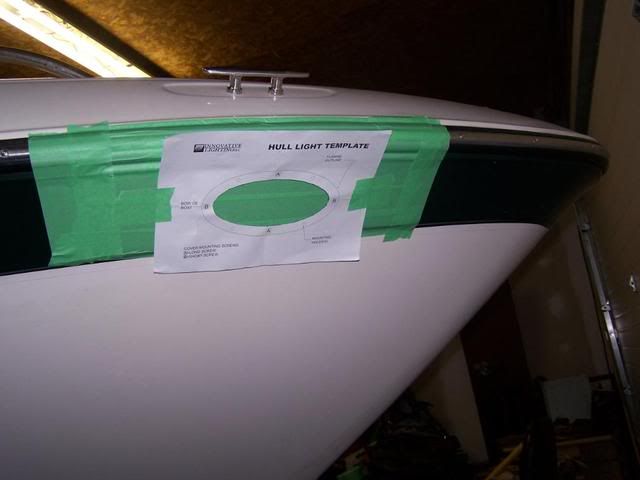
Template in Place for Visualization
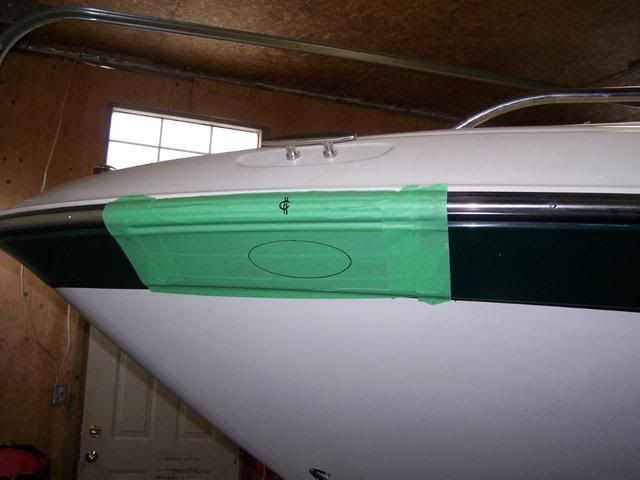
Template removed and the cutout shape transferred
Stop have a beverage and think hard before getting the courage for the next step !!
USe a 3" Hole saw and pray you like the location
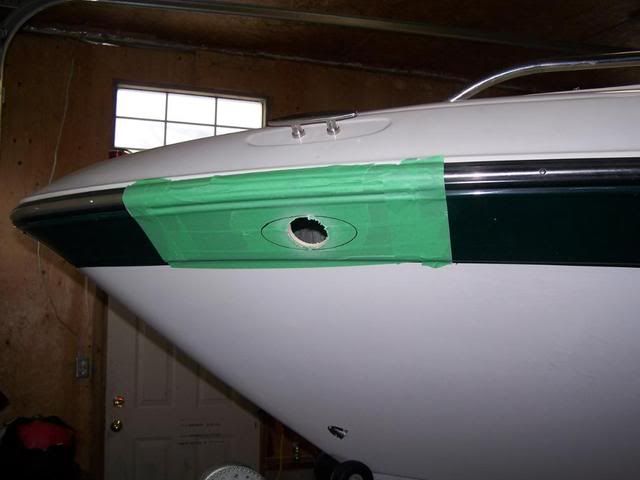
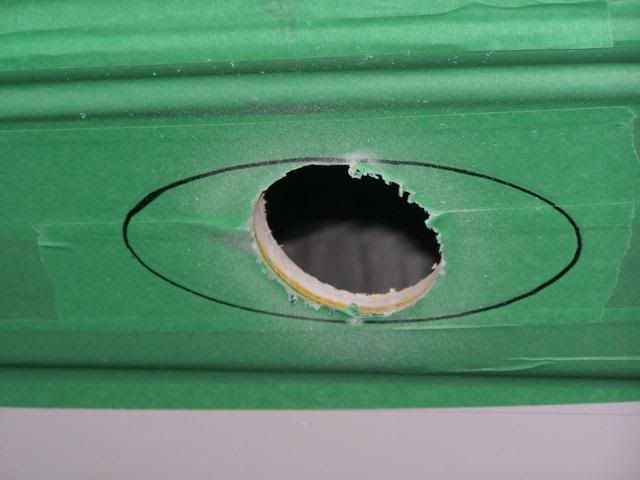
I checked from the inside to make sure I was really happy with the location of the light! And then proceeded to cut out with a swazall the rough shape of the template. I then used a half moon file to get the light to fit before I removed the tape.
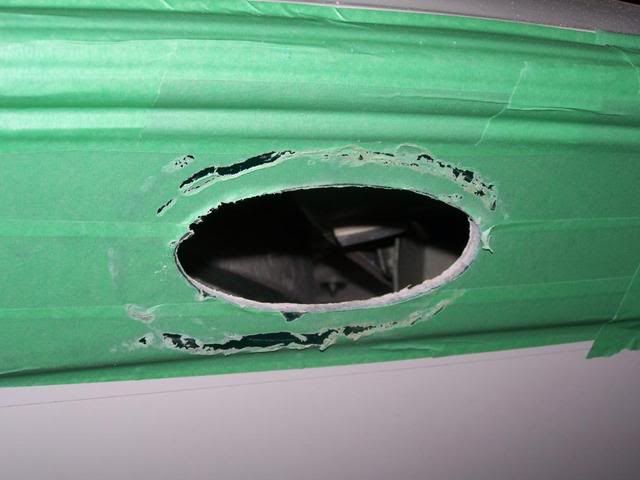
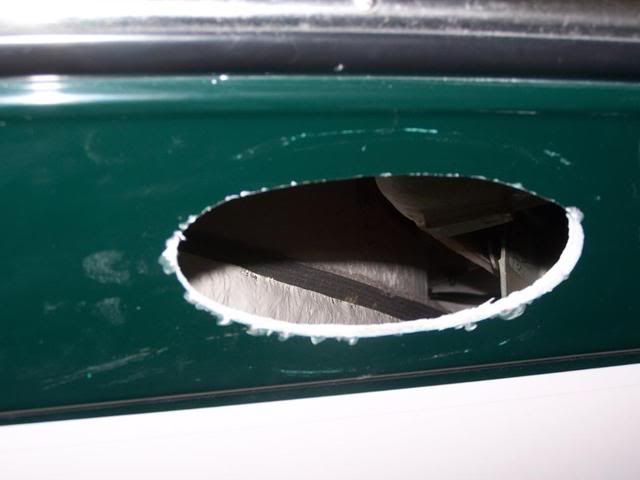
Notice the scratches! I hope to be able to buff them out later. I then held the lights in place with tape and predrilled the screw holes. I then put it all together (gasket,light,gasket,stainless cover) with the supplied hardware and Voila! they are installed.
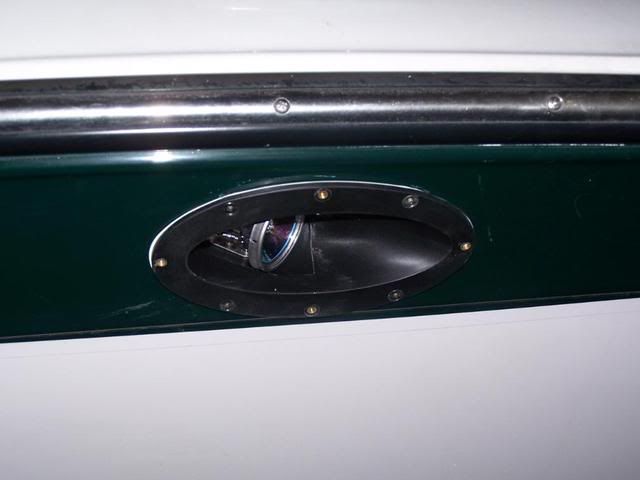
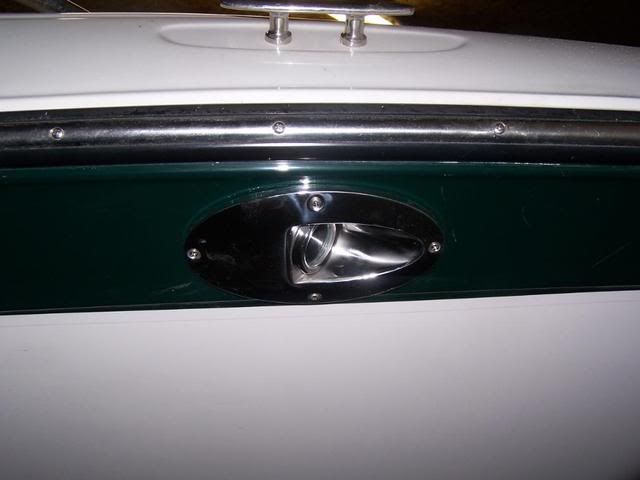
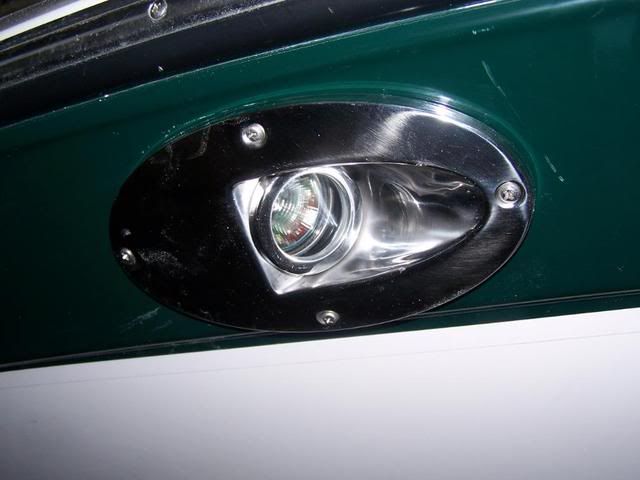
Now I need to remove them, epoxy the fibreglass edges(to deter water penetration), silicone the light body in place with the gasket for good measure and then wire them up.
All in All this was not that hard of a job and I think it adds a nice look to the bow. Now if I just get going on the other projects! I will be good to go for mid-April


