Here is a photo sequence where I rebuilt my Raw Water Pump, including Bearing and Seal. Saved close to $250 over buying a new pump assembly...plus now it has a SST bearing.
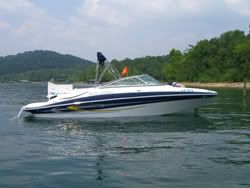
(2000 Volvo Penta 5.7L, Brass Water Pump at front of engine, Harmonic Balancer Mount. 430 hours on engine)
Note: This procedure should not be done on a pump with excessive wear in the impeller cavity. Mine was in pretty good shape except for a bad bearing and seal. If the seal leaks, then assume the bearing is bad also because they used a steel bearing.
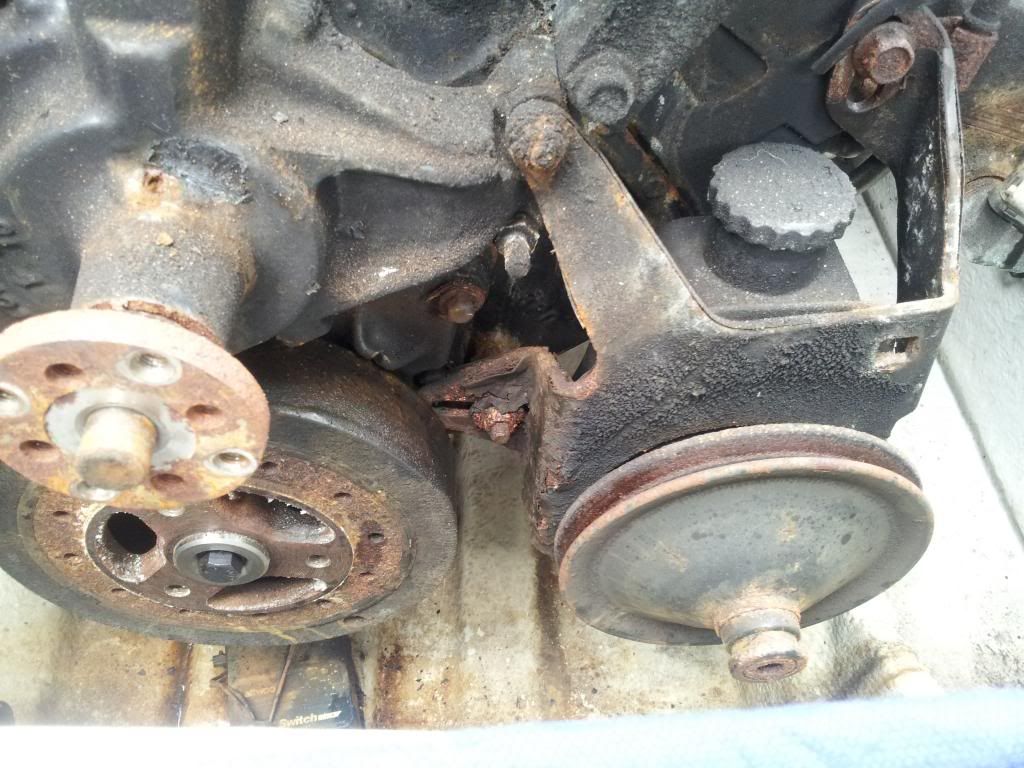
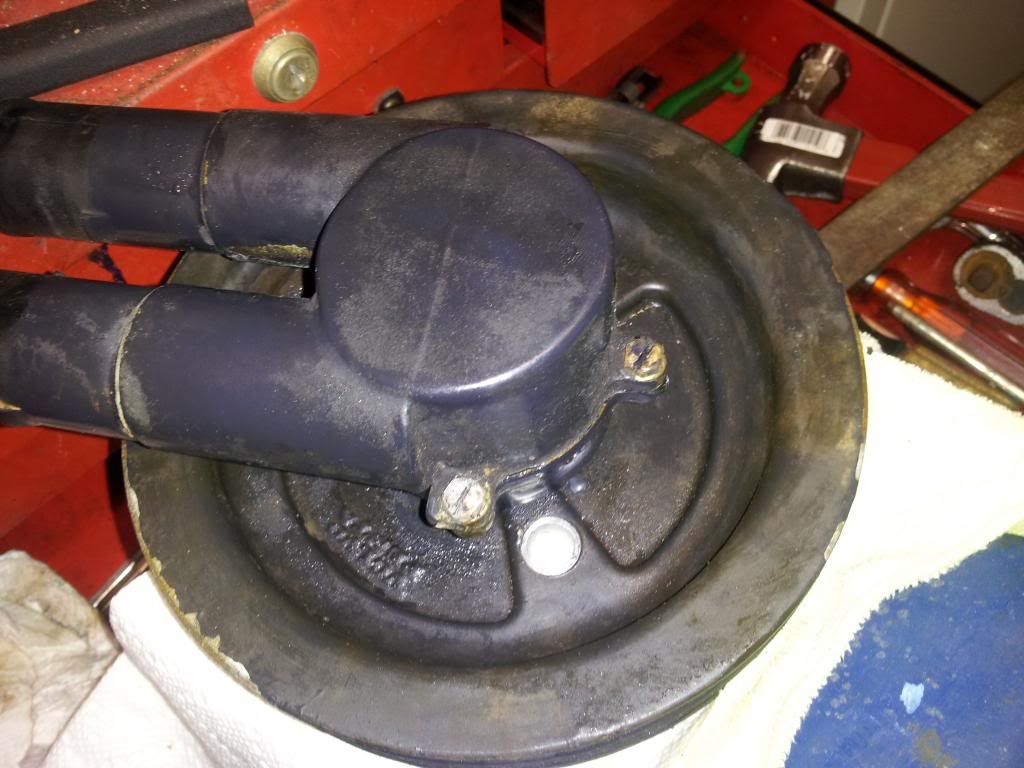
Picture of front of engine with Water Pump removed. Leaky water pump has caused rust, and rusty pulleys, which also eat up the V-belts. Three bolts held the pump assy to the Harmonic Balencer. 5/16" Allen wrench to remove.
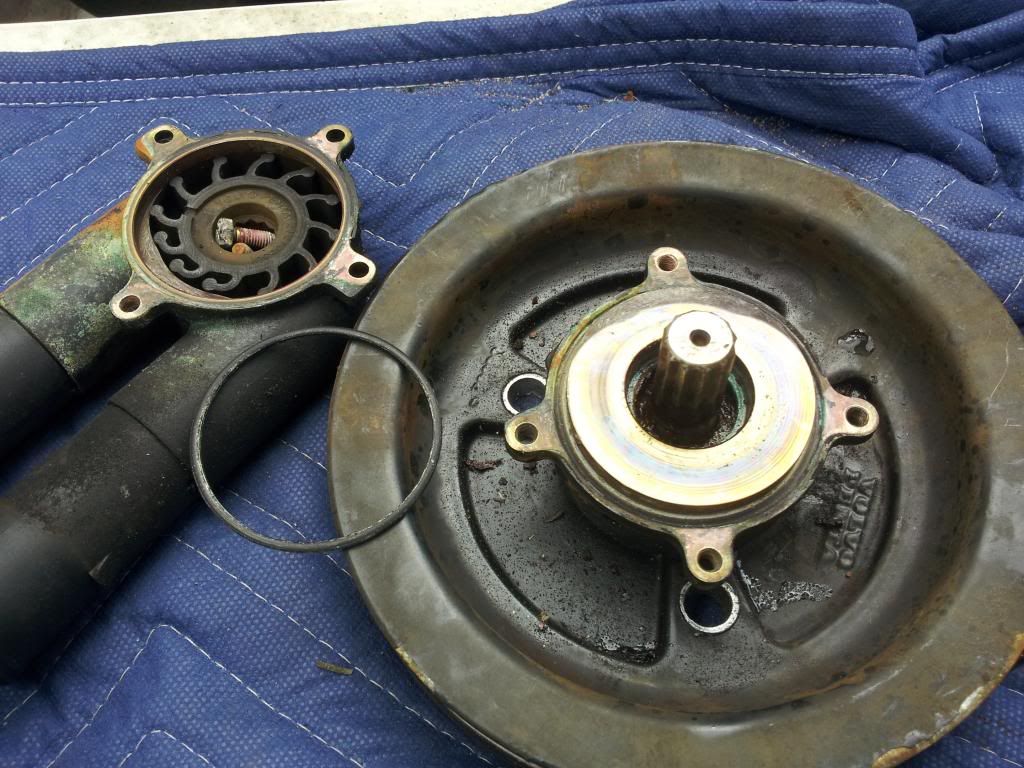
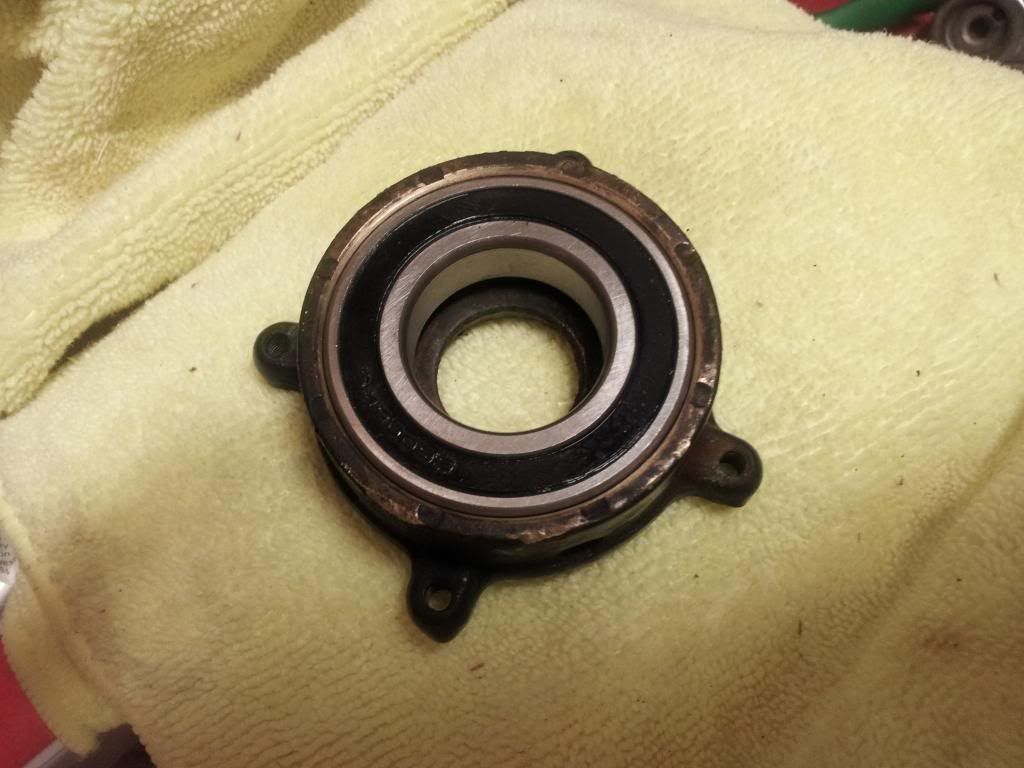
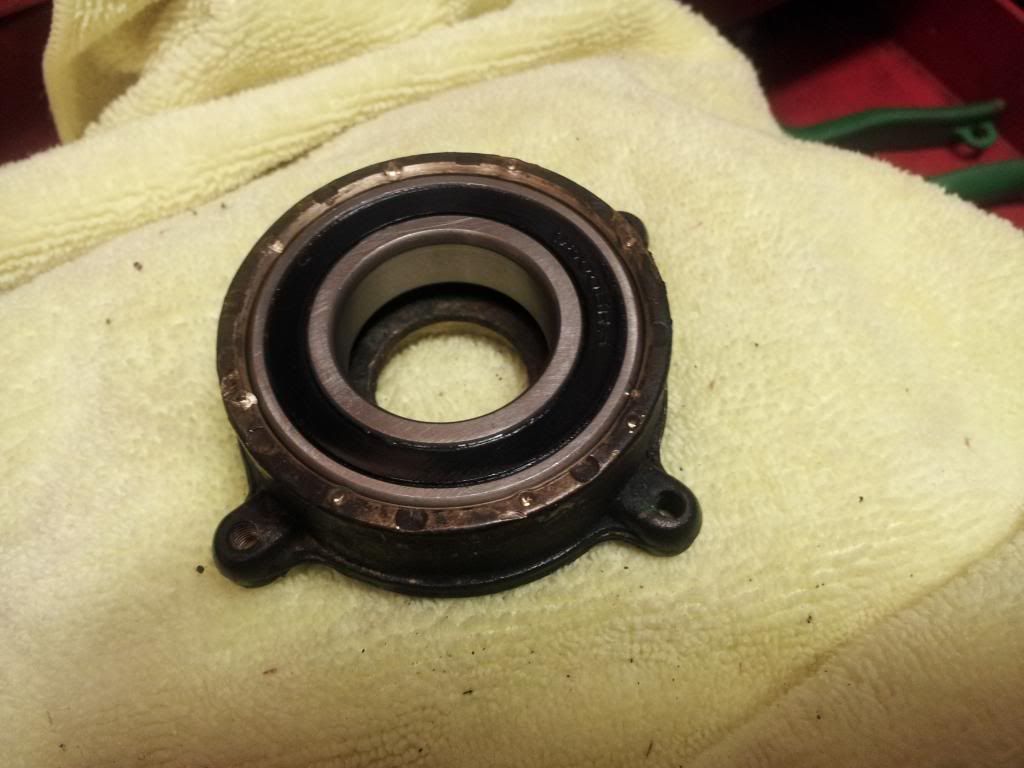
Pump housing removed (4 brass screws, 5/16" socket or flat blade screwdriver)
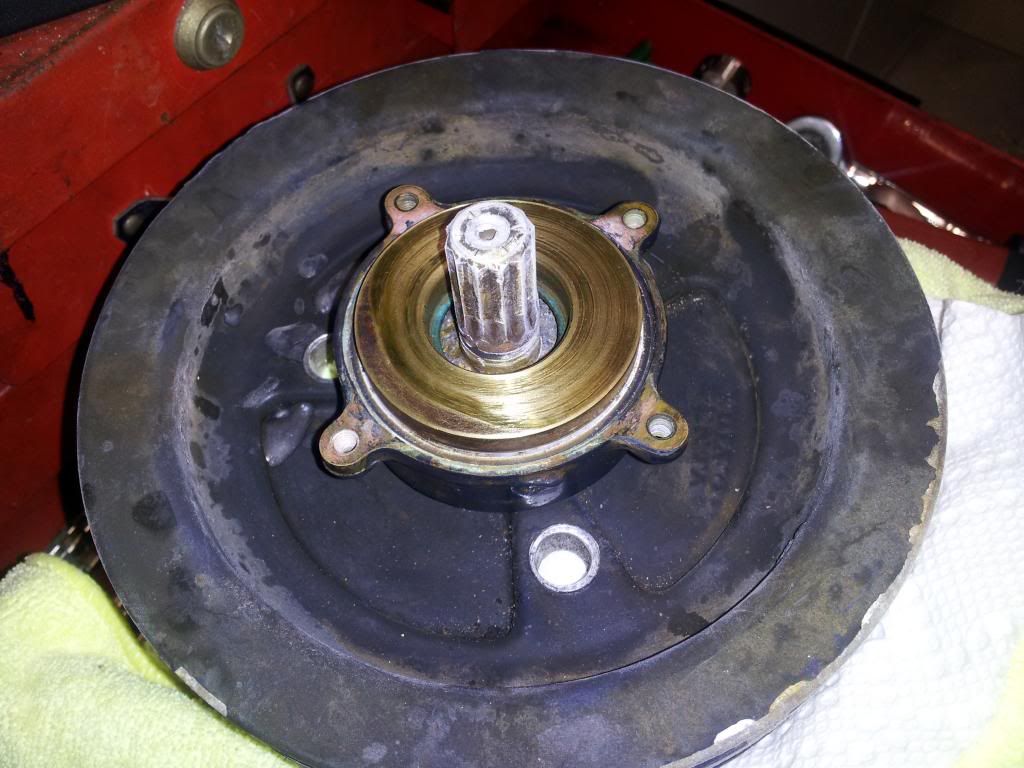
The Back of the rotating brass housing is still mounted on the Shaft. The Shaft is an integral part of the Pulley.
A small gear puller was required to disassemble. First I hooked the gear puller under the brass part...only hooked the teeth under the brass by about 1/8" so it hooks only the brass, but not the steel bearing.
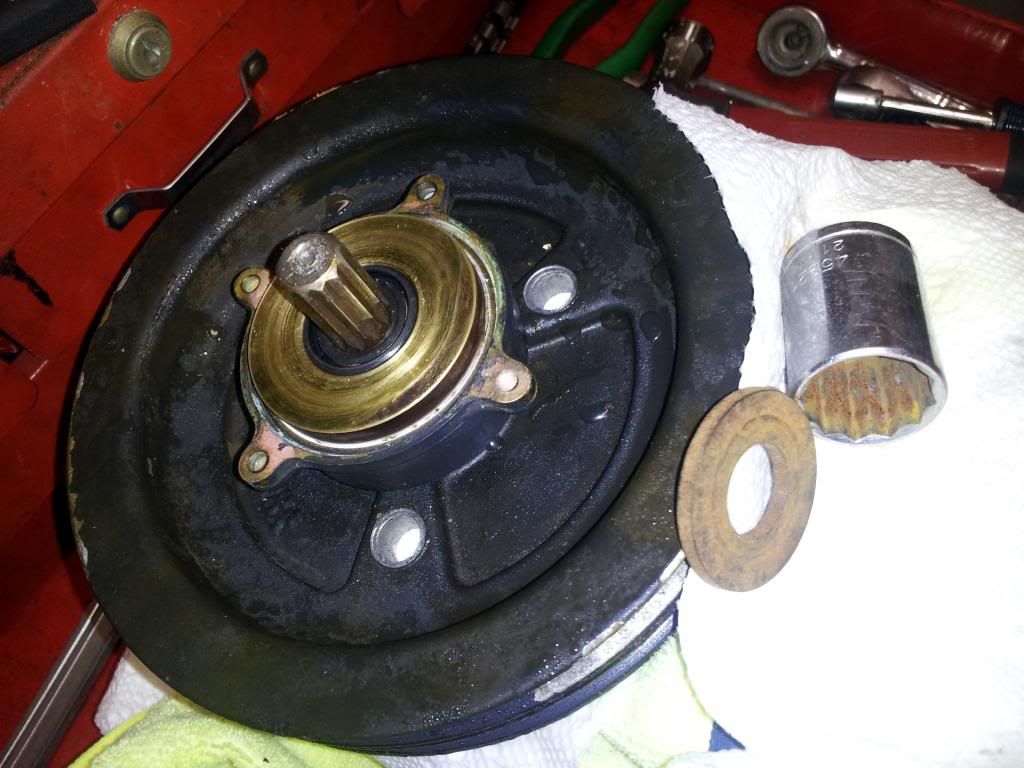
Once the brass was removed, I used the gear puller to pull the Steel Bearing. It was quite a lot of force to get the bearing off the shaft...it was all that the little gear puller could do.
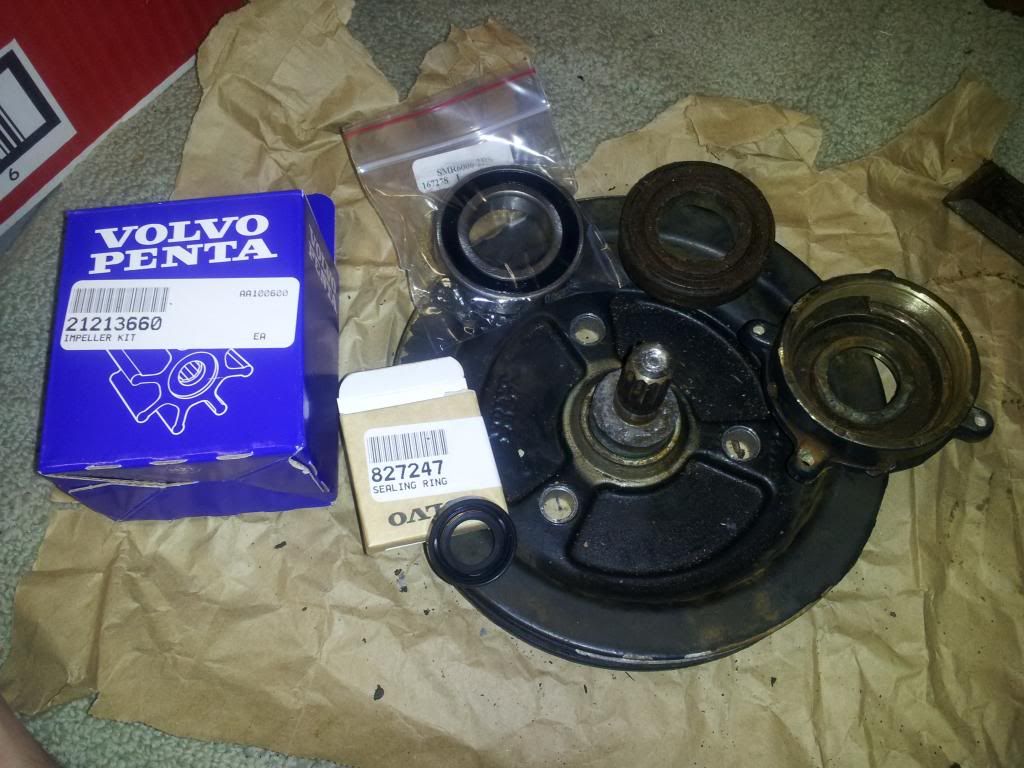
This picture shows the parts.
Impeller kit VP# 21213660
Seal Kit VP# 827247
SST Bearing, SKF#6006-2RS ($55 at my local bearing shop)
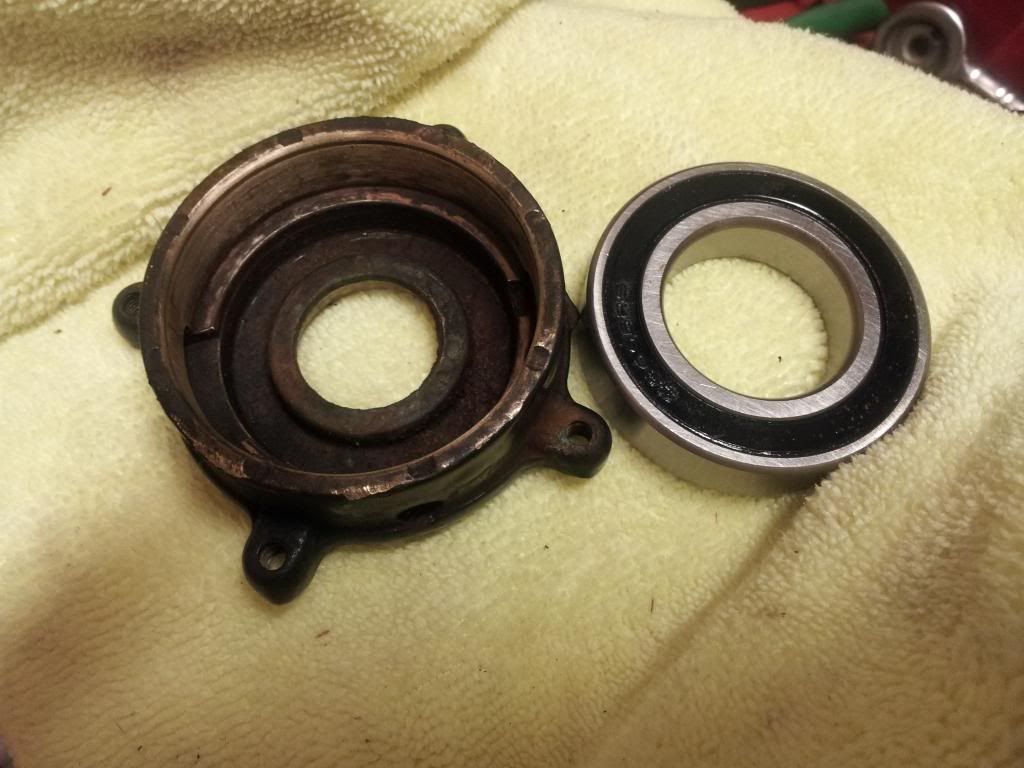
The old Steel Bearing is shown (What were they thinking using steel here?)
Also shown is the pulley/shaft assembly after the bearing was removed.
The new SST bearing ready to go in the brass housing. Turns out that my new bearing slipped right in without a press fit...it looks like the original was peened in. Note the marks at the top of the brass.
The new SST bearing installed in the brass housing, with locktite...
Then peened the brass with a center punch to lock the bearing in.
Next I put the pulley/shaft assy in the freezer and chilled to around 15deg F. I left the brass housing and bearing at room temperature. With this temperature difference, I was able to push the two together by hand. I used a hammer and wood block to make sure it was all the way seated. (note the Frost on the Shaft and Pulley)
This pictures shows the new Lip Seal installed into the brass housing. The Seal is a hard rubber compound, so it is not too hard to push in. I pushed it in by placing a correctly sized washer over the seal, then placed a socket over the washer, then tapped it down with a hammer.
This is the Raw Water Pump fully assembled and ready to get some new paint before going back on the engine. Of course, the new impeller and O-ring was put in, lubricated with the glycerin that came with the 21213660 impeller kit.
_________________

"Knot Easy" 2000 Horizon 240 Volvo 5.7GS /SX
tow: 2017 Honda PILOT EXL-AWD
prev. boats:
'87 Chaparral 198CXL 4.3 OMC Cobra
'69 Jetstar 16ft Ski Boat, 115hp Yamaha
'68 Aluminum Jon Boat, 3hp Sears
'64 Water Wings


