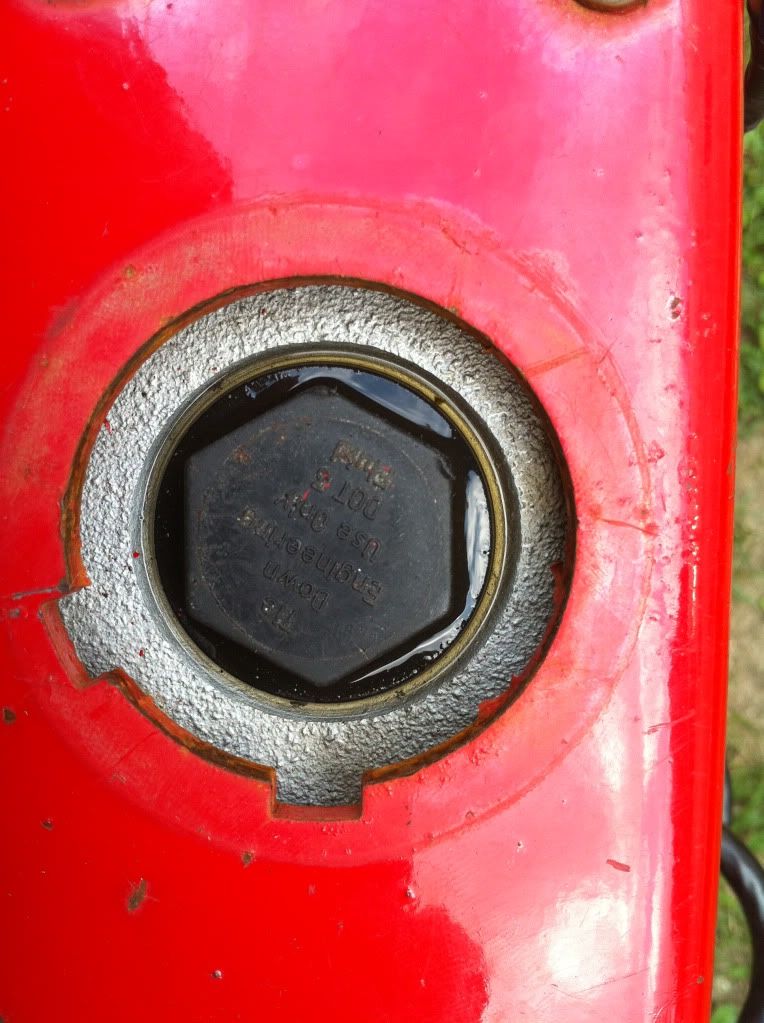
I have the same actuator and have had it apart, so maybe I can help. I'm guessing that the top cover on your master cylinder is loose, allowing fluid to leak (the whole top cover, not the big plastic plug). Or, the cover's gasket may be damaged.
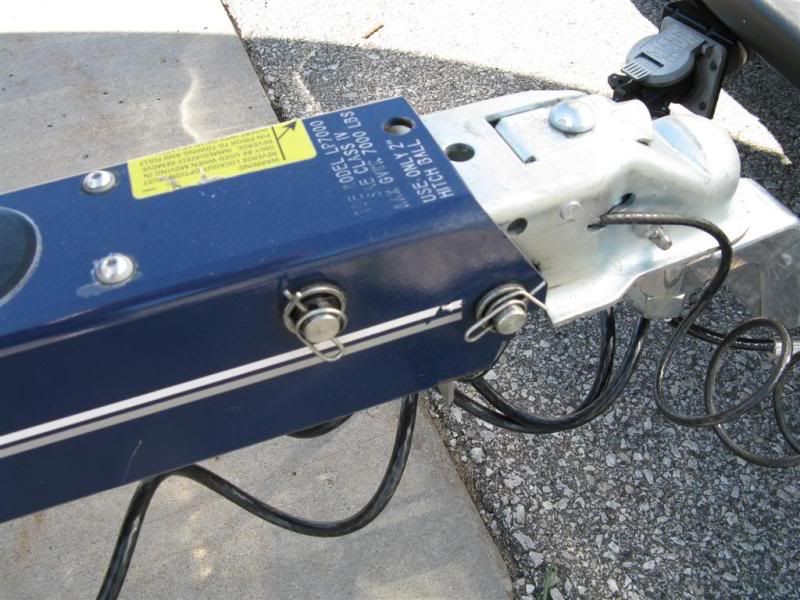
I'm sure you already have basic knowledge about how the brakes work, but just in case... The theory behind the system is that when you apply the brakes on the tow vehicle, inertia causes the trailer to continue moving forward at its previous (higher) speed, thus compressing the actuator in the tongue. That compression serves the same purpose as you stepping on the brake pedal in your vehicle; it forces brake fluid out of the master cylinder, through the brake lines, into the calipers, forcing the pistons to press the pads against the rotors. The actuator moves forward and backward in the tongue on a pair of heavy duty rollers, and that's what those grease fittings are for.
Removing this actuator from the tongue is surprisingly easy. You just disconnect the main brake line from the rear of the actuator via an access hole in the bottom of the tongue, then remove those rollers; the right-hand side has retaining clips or Nylock nuts (depending on whether the recall was performed on them) and pull the whole actuator forward and out.
Here are a few pics that might help:
The "safety pin" retainers on my rollers:
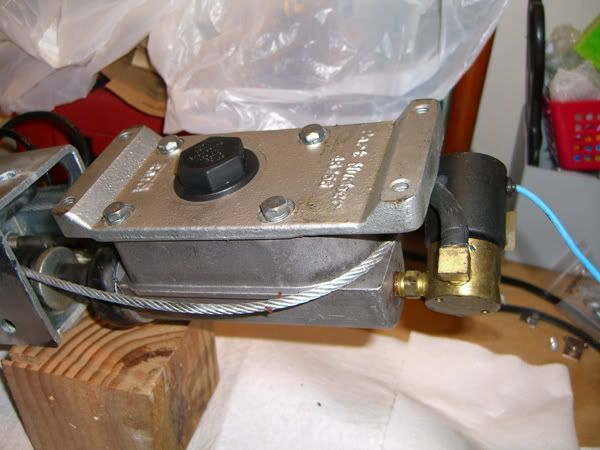
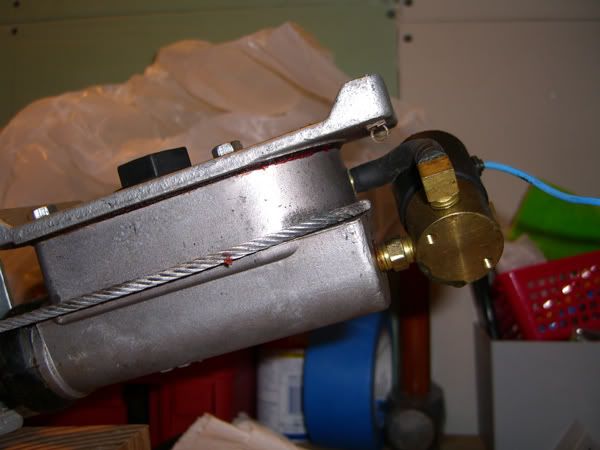
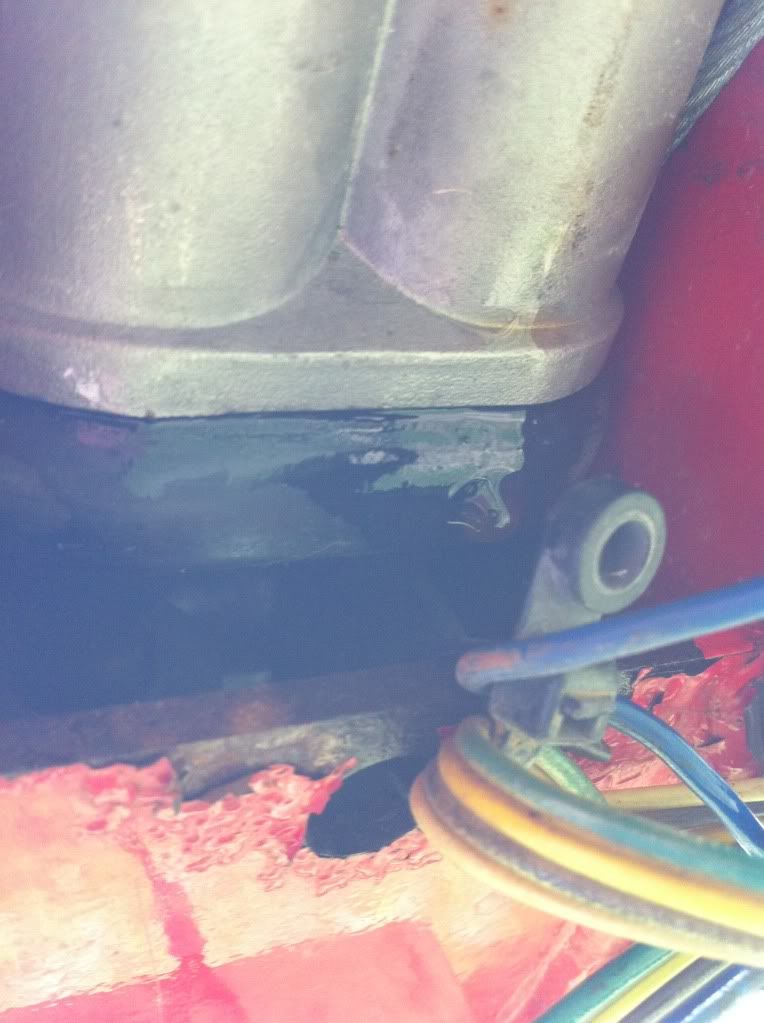
The master cylinder portion of the actuator - I had to remove my actuator because the lockout solenoid had failed. Note how close the original solenoid is to the rear of the master cylinder - as part of this project I extended it back a couple of inches to make future replacement easier (I think it had to do with getting the solenoid positioned over that access hole in the tongue). Anyway, this is a good shot of the top cover and gasket on the master cylinder, which I suspect is loose or damaged on yours:
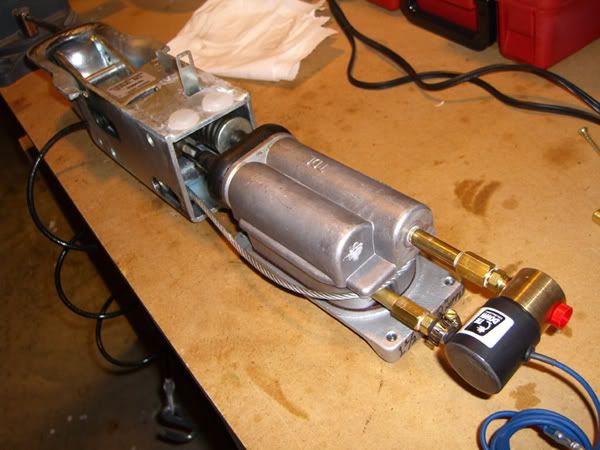
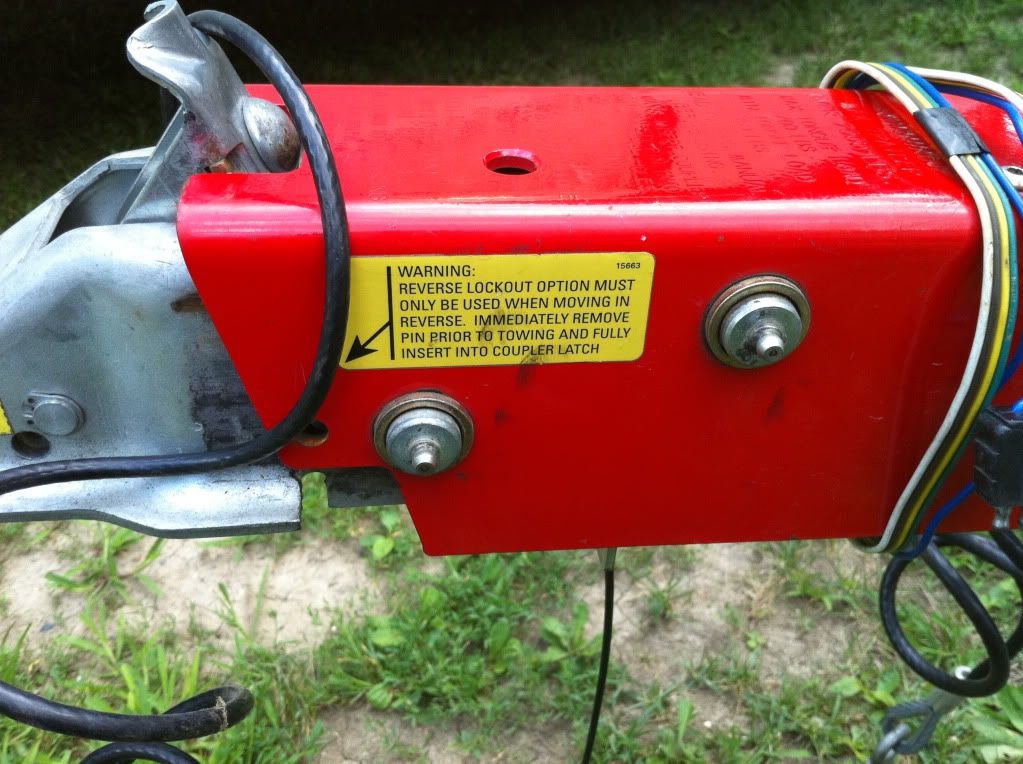
Since I'm posting pics anyway, here's a shot of the new solenoid, extended further back about 2". You can also see that the break-away cable (the one you asked what it attached to) is only attached to the actuator itself and comes out with the actuator; it's hanging down the front of my bench:
Note that this model actuator has a very specific sequence that must be followed in order to prime the shock dampener correctly (only applies if you have to drain the master cylinder). If you don't follow the sequence, it's likely the dampener won't prime and the whole actuator may have to be replaced. And of course almost anything you do to the actuator will necessitate a good brake line bleeding as a last step.
Finally, here's a PDF document for your actuator, I recommend saving it locally or at least bookmarking it.
http://www.tiedown.com/pdf/c462.pdfEDIT: Rats. After typing all that, I see Jamestown Distributors has produced a great video of the whole process

:
http://www.youtube.com/watch?v=qq7uBniFZ6g


