OK, so I finally got the stereo done. It was a lot more work that I anticipated

but to be fair I was probably fussier than a hired hand would have been (I.E. someone who knows what they’re doing).
Since others have already posted this upgrade a number of times in the past I will try to keep it focused mainly on the little extras I chose to do. This post may offer a little interest to those of you who also have an H200 or H210 as the install is specific to those models (bench is prob a tiny bit narrower on the 200

).
First the original 6" speakers were removed in favor of the 7 3/4" JL coaxial units (wicked awesome advice CC - THEY ROCK!) and the holes were enlarged accordingly. Check my fancy no-name Dremel with custom dust vacuum system! By the way these are as big a speaker as you will get in the bow location of a 200 or 210. Actually, if they were 1/8" or even 1/4" dia smaller they would have fit absolutely perfect - but they do fit and you have to really look to see that they have a tiny edge over the "inlaid swoop" of the interior. Bow docking lights do not affect the ability to install as I have those as well (I had my concerns).
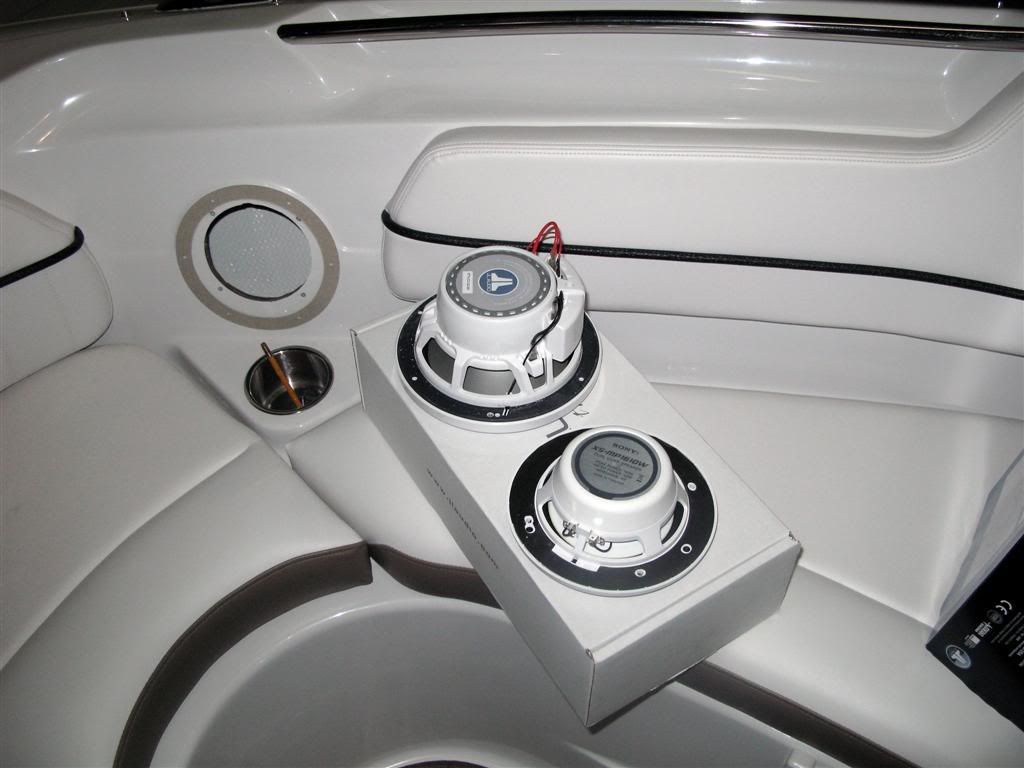
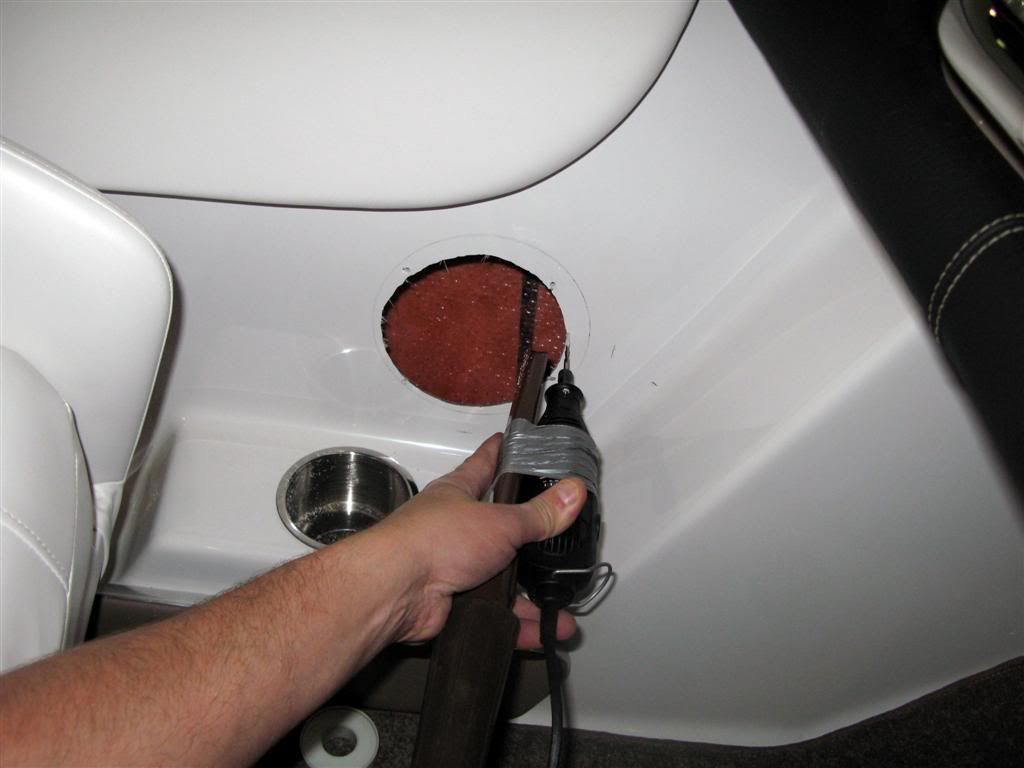
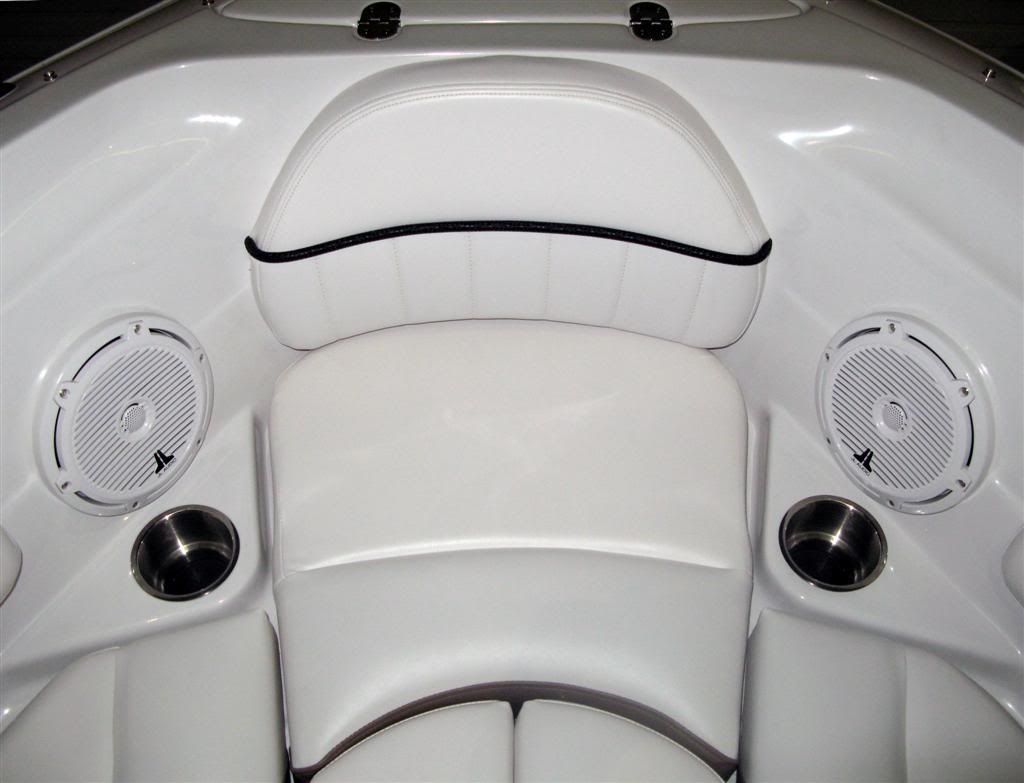
Factory speaker wires were terminated, sealed and abandoned then new 16ga wires run. All new wire connections got rubber capped blk/red female connectors, dielectric grease and heatshrink to seal them off. All new wiring was either tied off to the original harness with zip-ties or anchored with nylon wire anchors. The power or pricey stuff got a plastic loom to protect them from chafing.
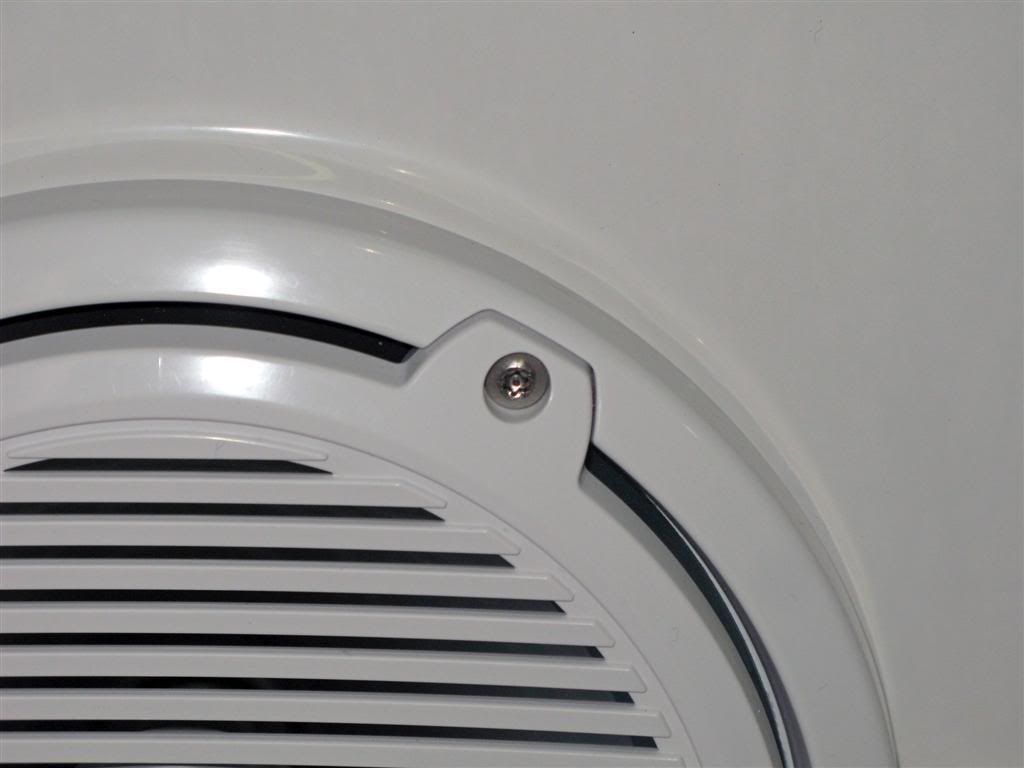
Strangely, the bow speakers have a plywood backer but the helm speakers did not. Enlarging the holes killed most of the existing speaker backers so I made 4 new rings with a hardwood 1/2" ply - varnished and installed them. Why bother? Well to keep my gear mine I invested in #10 1 3/4" SS screws that not only require a special pinout torx type bit to remove but they are also threaded in reverse so when you would think you are loosening you are actually tightening. They are designed to strip when over tightened so then they would need to be drilled out. I am gambling that requires a little more ambition than the little thieving a$$h0le$ have.
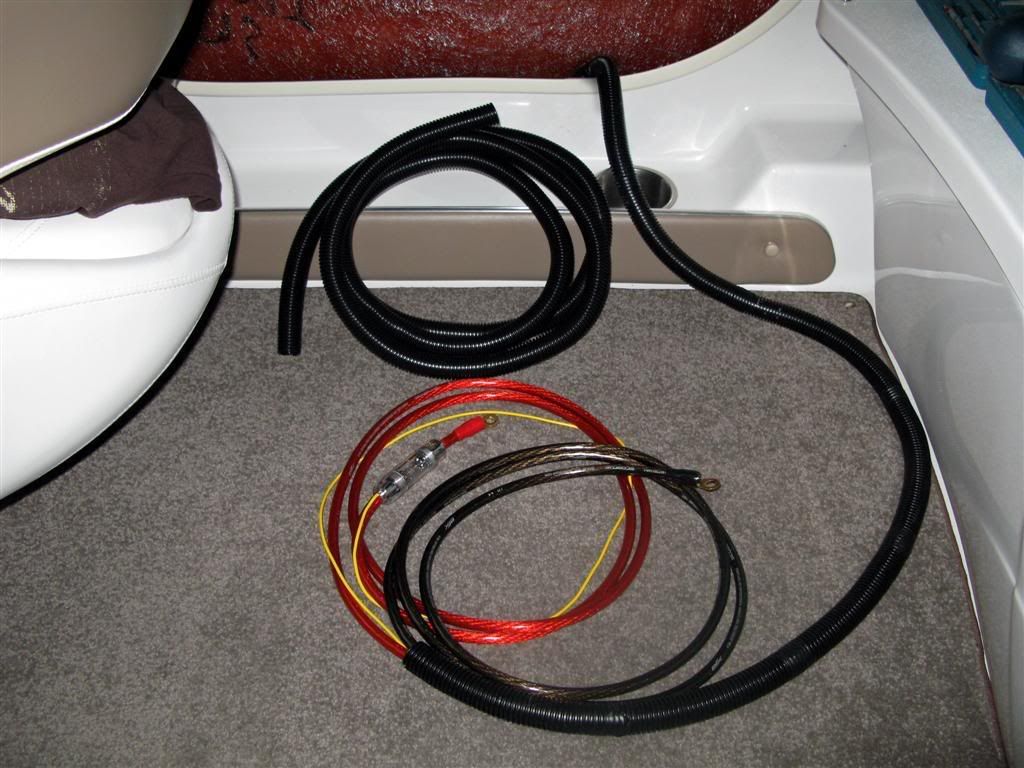
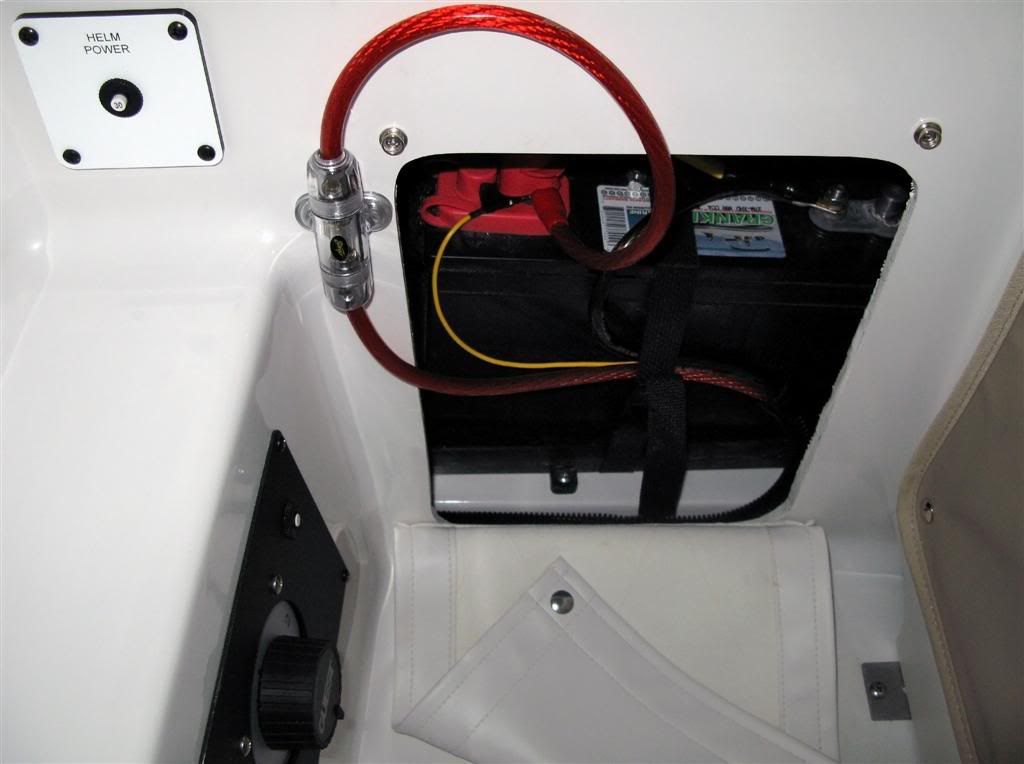
The 4ga amp power and ground is then run. They were run down the stbd. side by removing the lower interior cubbies (what a pain to get at the top/inside phillips screws and if you strip one - good luck - Best to use a phillips bit in a 1/4" ratchet). Ran the cables inside of a 3/4" wire loom with an additional 20ga wire (yellow) which I will later use for the setup memory to the Sony head unit (this should be factory IMHO). Again, zip-tied to the factory harness where possible and anchored to the backer where the amp is to be mounted. The loom is run along the foam bottom under the stbd. pass compartment so I simply used a blob of that expanding/insulating crack foam to glue the thing down in a couple of spots. Stuff dries hard and sticks like crazy so the loom is pretty secure. Installed the 60A fuse holder in the cubby beside the engine, trimmed the wires and as usual sealed everything with dielectric grease and heatshrink.
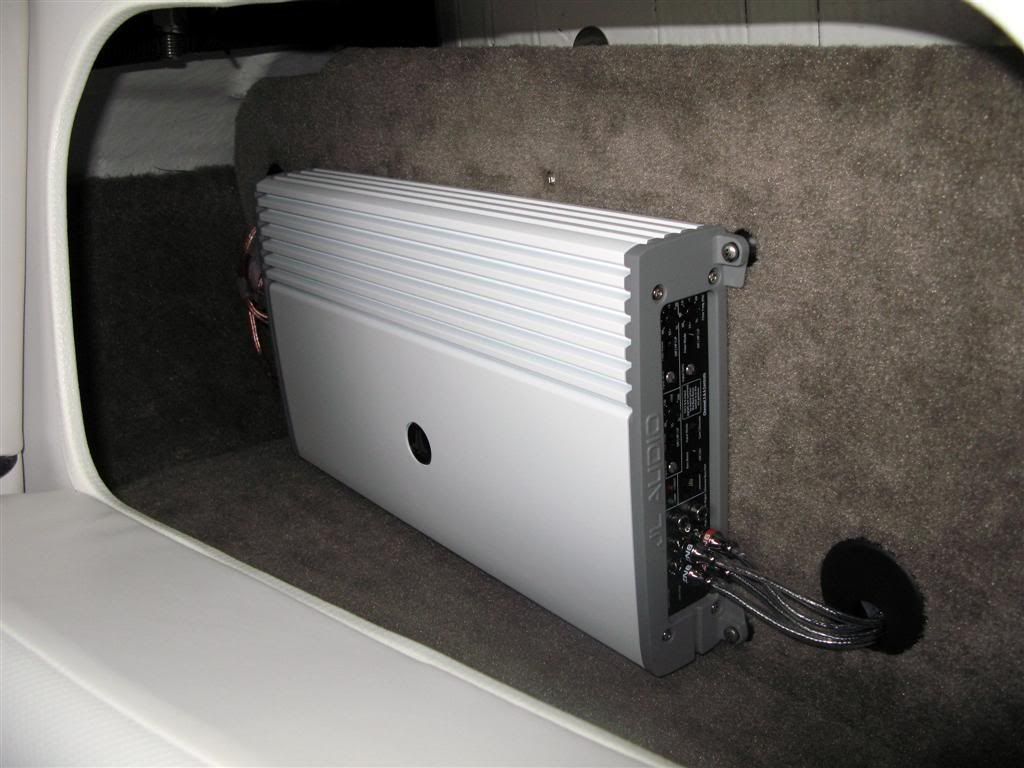
I then removed the carpeted backer in the bow seatback storage to mount the amp. Used nylon anchors to attach any wiring to the back and installed 2 desk/cabinet wire chase covers to keep it tidy. The amp was mounted with SS bolts and security nuts then pinned with cotterpins. The board is then secured with hex lugs to the excess bolt ends that secure the helm to the hull liner on the other side. Along the edges the board is secured with the same security screws as the speakers. The result is the backer board must be removed in order to remove the amp which of course will be at least as difficult as the speakers would be. Since the amp is secured to the board until the board is removed from the cubby it is a real task getting the assembly in and out of the storage compartment. There is a trick - the cubby bottom board has to come out first and they must be juggled around in there before anything will come out - and it will barely wiggle out one way only. Oh, the seat back door must come off first as well.

You might note the amp is mounted with standoffs as well - just thought it may be good to have a bit of space between the amp and carpet such as to avoid trapping any heat; although it is hard to see in the pics.
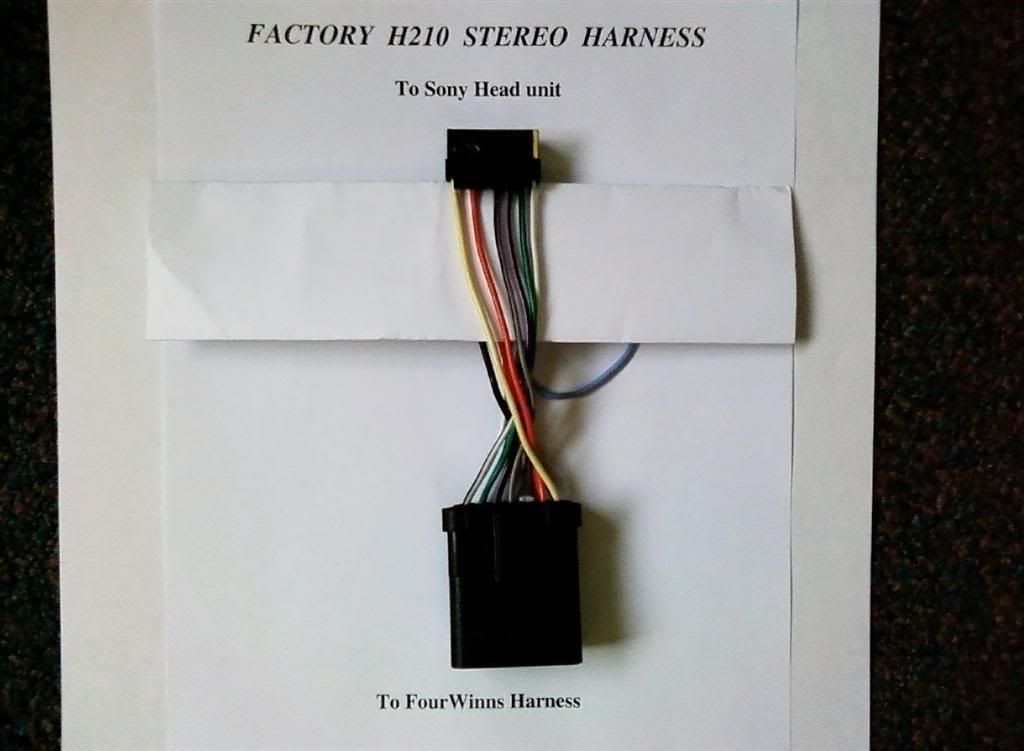
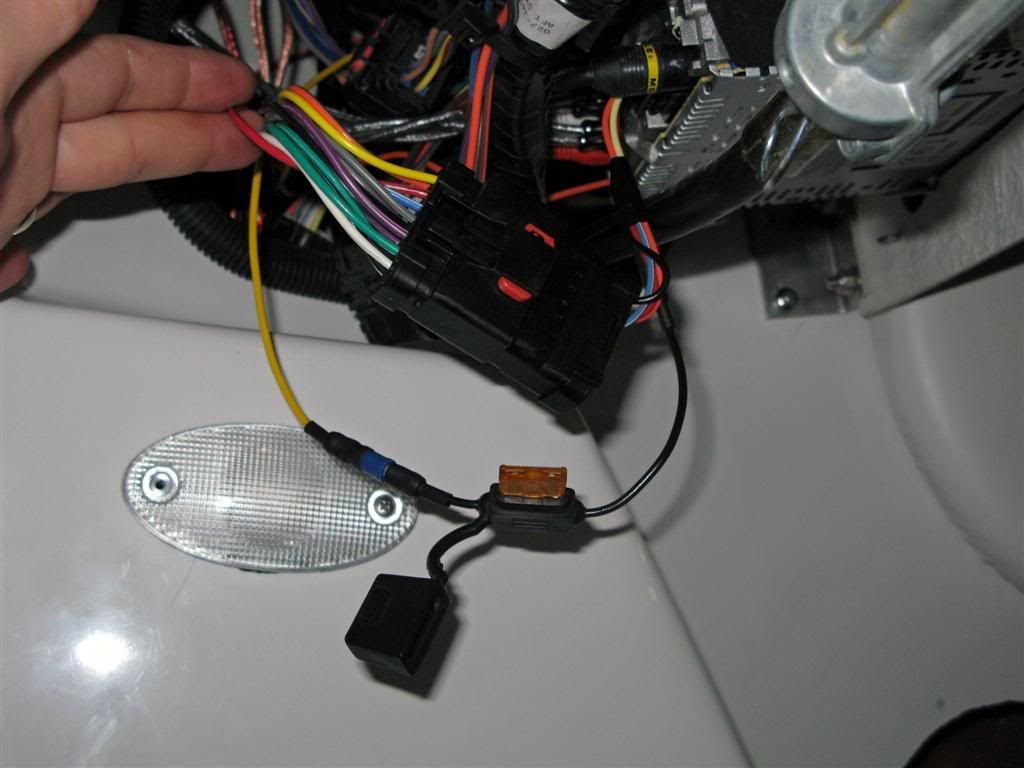
I removed the stereo to boat harness and photo’d it in case I ever wanted to return it to factory - a simple unplug deal. With a tiny flathead jewelers screwdriver I dismantled the FourWinns side of the stereo jumper harness and carefully unclipped & removed all the wires which would now be unused - except the remote switch wire for the amp (blue/wht stripe), power on acc (red), power illum (orange), ground (blk) and the power for setup memory (yellow). The remote amp switch wire is factory terminated a little further up the helm harness so I just followed it and added a bullet connector then used another 2' of wire to get me to the amp location.
The power for setup mem (yellow) got a bullet connector, an in-line 1A fuse (don't know why but thought it would be a good idea). Another bullet connector ties it to the power/ground loom for the amp.
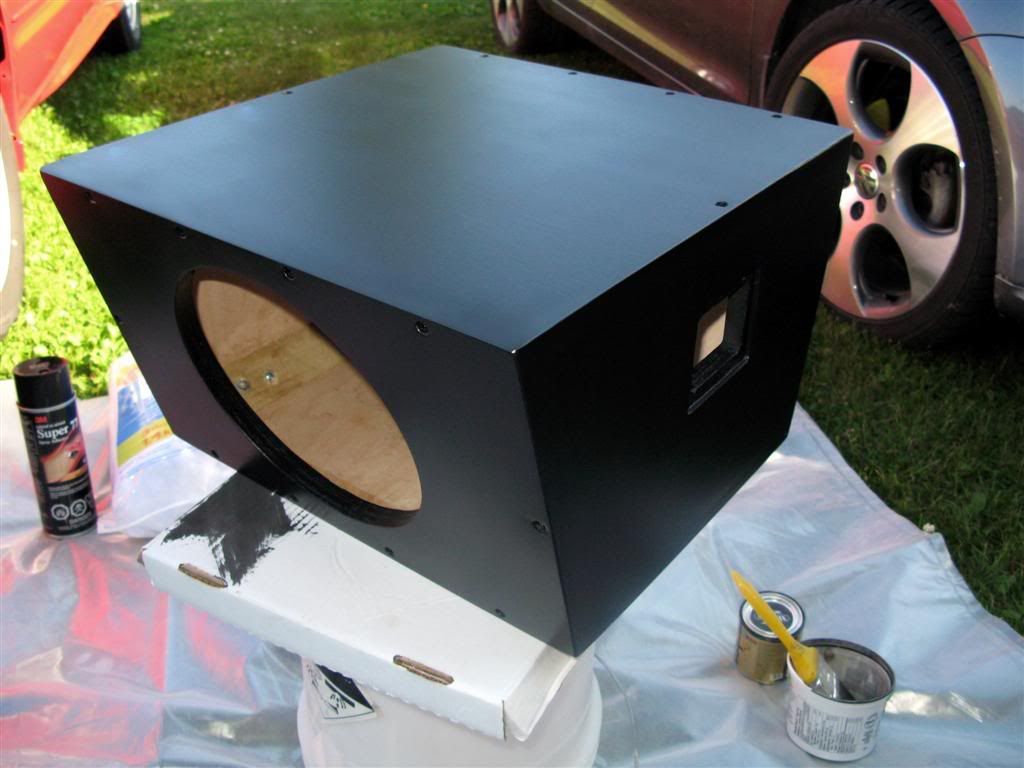
Then I tackled the sub box. After much thought I decided that my priority was to have decent thump while having a non-destructive and stealth install. Ultimately I adjusted my plan to a little better strategy submitted by Jim_R (thanks Jim!). The box was carefully sized to fit exactly in the cubby under the rear bench on the port side.
Angles I used were 9deg for the aft cuts and 15deg for the front.
1/2 sheet of 3/4" good one side hardwood ply was used (MDF was too offended by water and I did not feel like doing any fiberglass) with 2"x 2" poplar sticks being 45deg'd for inside reinforcement. I used construction adhesive liberally to glue and seal the thing and #10 2" wood screws to assemble it on the outside (1 1/4" on the inside reinforcements). It then got 3 coats of black varathane and 2 coats of clear satin varathane spray.
Counter-sunk the hole for the wire hookup block (it was that snug in the bench cubby) and since I was approximately .1 - .2 cu.ft. shy of my recommended min, I added a little bit of stuffing.
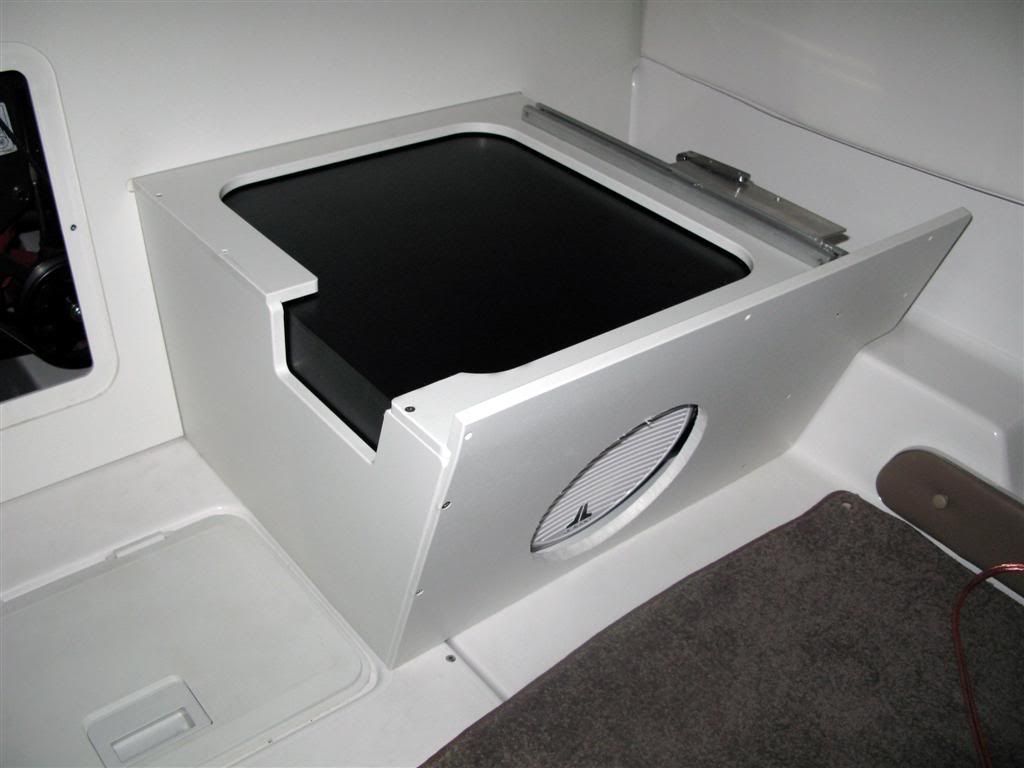
The small strip fixing the seat frame to the floor was flipped to the outside of the seat frame from the inside and the box was sized to allow little rubber "feet" or bumpers to be added to the bottom of the box prior to fitting it in there. The seat cushion itself did not require removal but it did make the install less of a headache (literally).

An access for the wire hookup/disconnect is through a small hole cut in the seat frame on the side. I marked the hole with a red and black dot also since I can't actually see in there and do not entirely trust my memory.
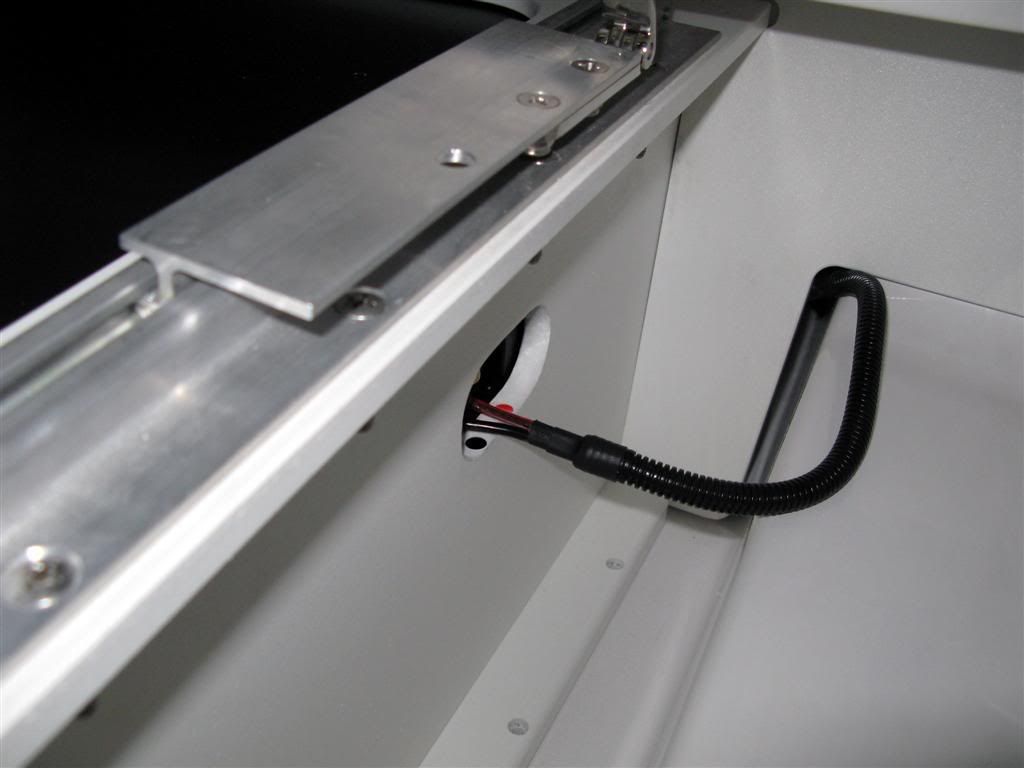
The plastic bench "kick panel" and seat frame front must be removed and may then be cut accordingly. The sub box can slide right in the void and get hooked up. The wire for the same was run just as the amp power/ground was except on the port side.
All that’s left after that is re-assembly and hook up the amp. Then jump back to the power cables, hook them up and throw the big red switch so to speak. The memory wire is visable here on batt 1 with the amp power. Both factory batteries are "cranking" - I will swap battery 1 with a deep cycle later if there is ever an issue but FW and Volvo say not to try starting off one so we'll have to cross that bridge when/if we get there.
A little tuning of the amp and set up the head unit (since it will now “remember” my prefs)

and we are good to go!

As of now I haven’t “vented” the kick panel of the bench for the sub. It seems to thump pretty good for my taste and the bench is such that it is vented pretty well in its design from the factory. If I had a pro do the install it could probably be set up much better than it is; but I could also be a few thousand lighter as well. It sounds awesome AFAIAC and without including time I figure I am probably into the whole upgrade for $1500 so that is pretty cheap considering what the hard-core guys are spending on this stuff. I can hear it in perfect clarity over the engine and the wind so that is really all I wanted out of it and I am sure that is already more than enough to be obnoxious on the water. Like Tx said it is pretty cool to feel the thump in the floor and seat and frankly, I haven't had any rattles to bug me just yet . . .


