First off, this sucked.

But I learned a lot from it including how important it is to use your own towing equipment, what to check before every tow and how to get away with a cheap, but solid boat hole repair (For my young fellow broke college students trying to get some ride time in with the ladies).

 Brief
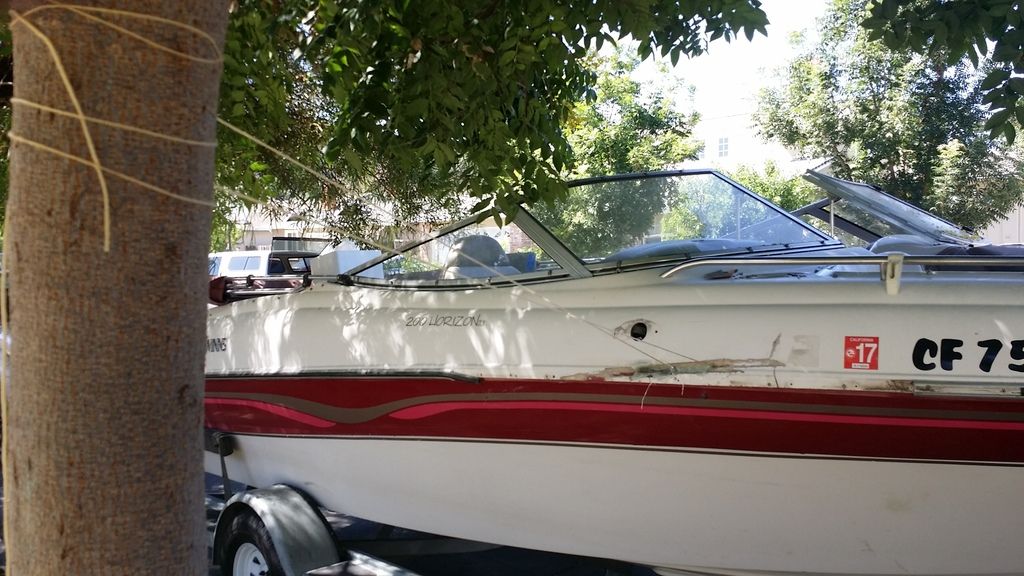
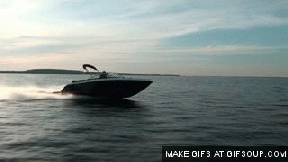
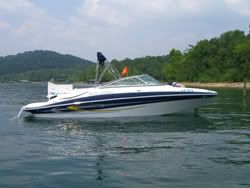
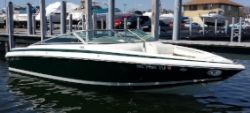
BriefComing home after a nice long day on the water I lost the boat from the trailer on the freeway. The nut on the trailer ball had backed its way off and all it took was one good bump to pop it out of his hole. Once free from the truck, the boat swayed quickly back and fourth till my safety chains failed. This sent the boat into the shoulder and colliding into the retaining wall. The only thing that did its job was the safety brake on the trailer engaging immediately and slowing the boat down enough to limit its impact and kept it from leaving the shoulder. Nobody was injured and the only damage was to my boat, one blown trailer tire and ruined electrical connectors for lighting.
Failures1. No lock washer on the trailer ball threading
We used a friends truck to tow the boat that day and he had a pin secured, slide in style ball/hitch. He had two, one as a primary and one as a backup for parts without the lock nut (guess which one was grabbed by mistake). Lesson learned, check for a lock washer and a secured nut. I now give it a good yank with a wrench at the start of each day and when I leave the water.
2. Failed safety chains
I never found the safety chains so it is safe to say they it failed from the bolt (at the least). They were rusted, but not bad. Make sure these are in good condition, but here is the kicker. When I registered it in Massachusetts to make her road worthy trip, they have a visual inspection done and require 2 bolts, not sharing the same slot, with each supporting one chain... 1 bolt with 1 chain at 1 contact point times 2. California does not visually inspect this and if they do they sure didn't do mine. This would have been a game changer. I recommend this precaution and taking the time to purchase the correct size bolt to equal the yank from a failing boat that ways (how ever much the boat ways).
3. Ensure your brake cable is crimped firmly and attached well.
Steel braided cable, crimps and metal hook/carabiner. If your store wont crimp your parts together I recommend a vise and a small pin/screw driver between the vice teeth and the crimp. You will figure it out.
Learned Lessons1. Don't borrow anything from anything and if you have to, inspect it.
2. Use a lock washer at all times and for some extra protection: Lock Tight or a second bolt.
3. Keep a wrench handy and always check-tight the ball nut and safety chains nut.
4. Keeping a jack stand handy, to act as the truck point, is necessary in this scenario to change the blown tire.
5. Keep some old bike lights (2) in the truck to act in place of broken lights that can flash (cause all problems go till the night).
Boat Repair Once over the fact that it happened, its was time to get busy. This is what I did.
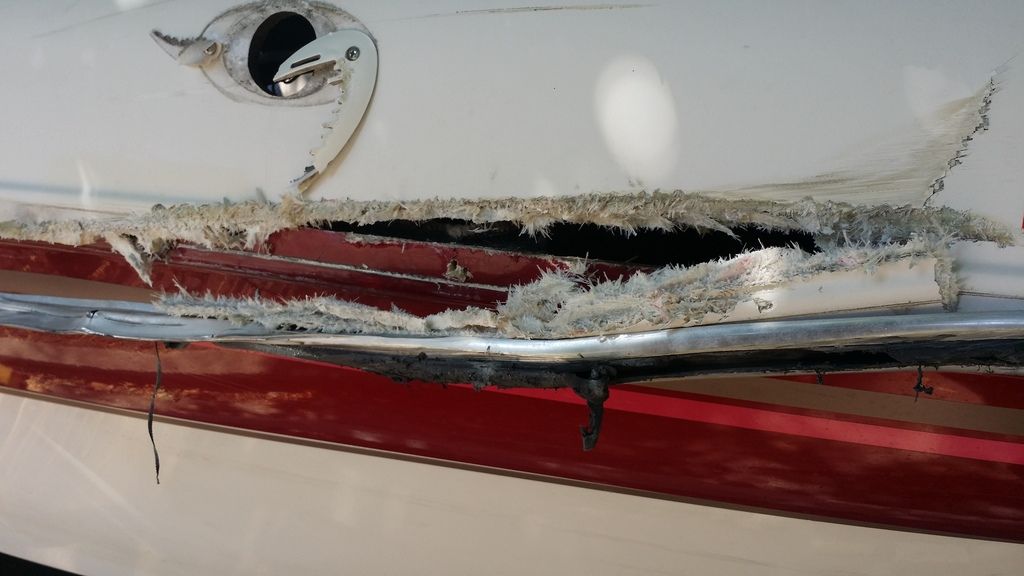
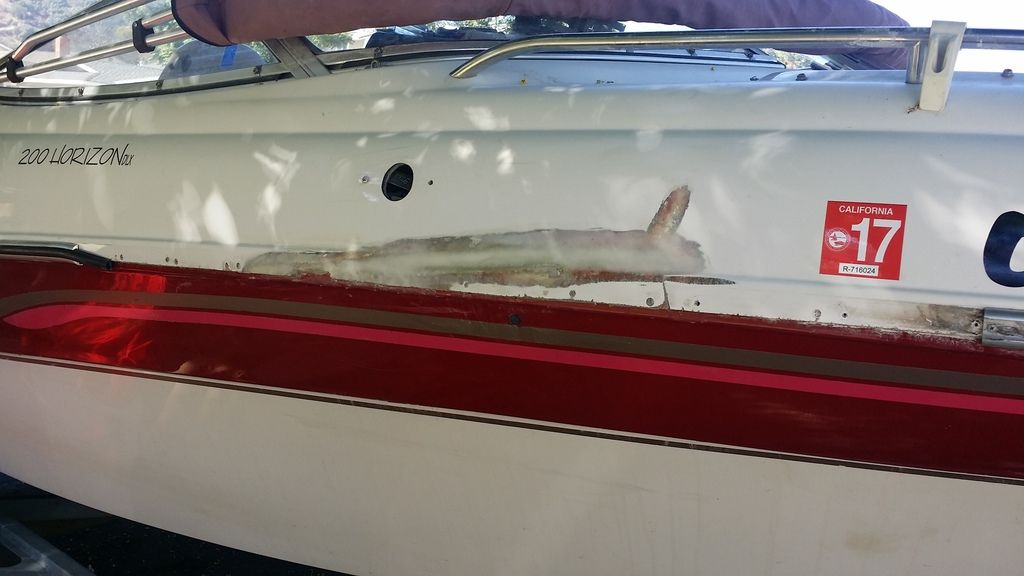
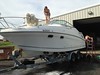
1. Looked around the boat, inside and out, looking for major stress cracks and damage. I luckily didn't find any and my shafts were in line.
2. Cut away the dead stuff. Remove Bumper trim, cut away the broken stuff. I used a dremel tool and squared things off the best I could.
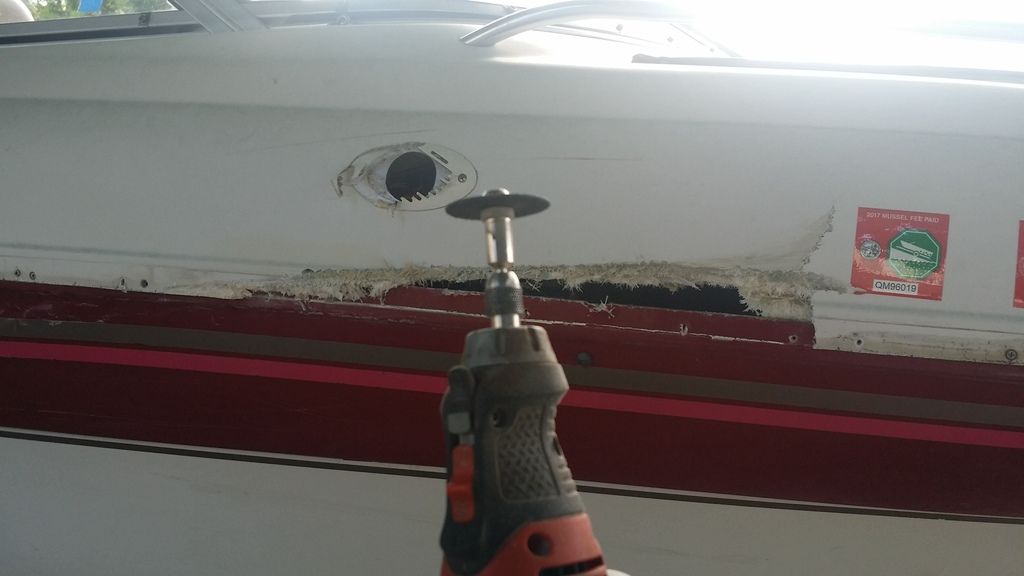
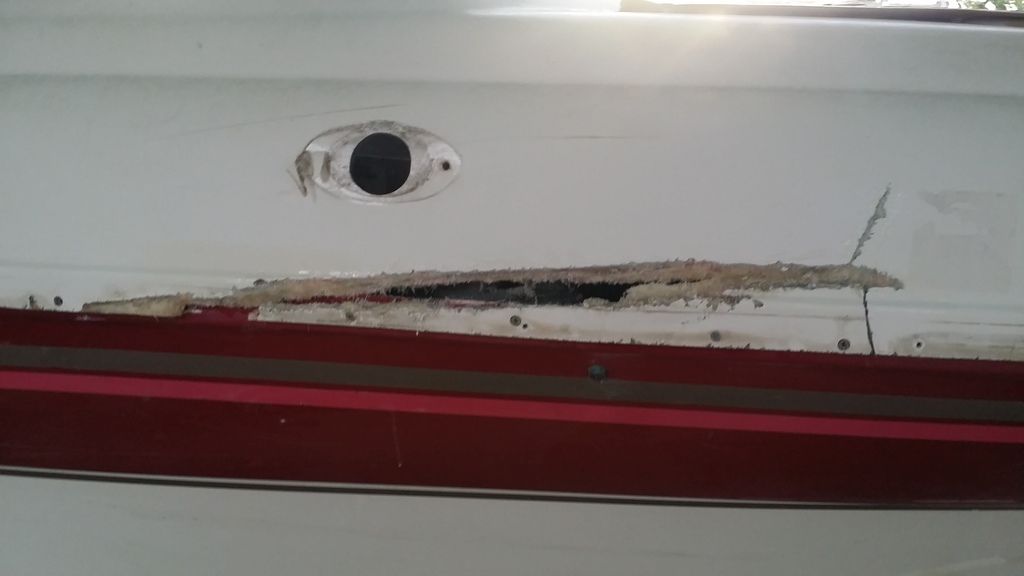
3. Prepare the area with sanding
4. Head to your local plastic store and purchase a little bit of their most heavy duty woven fiberglass alternative and normal fiberglass.
5. Apoxy/Resin I used was from an airplane build, but you can get stuff best for boats ( I went for overkill).
6. Apply a backing ( I used cardboard with clothe on it) from the inside and secure string to it with a screw to pull for applied pressure. I tied mine to a tree.
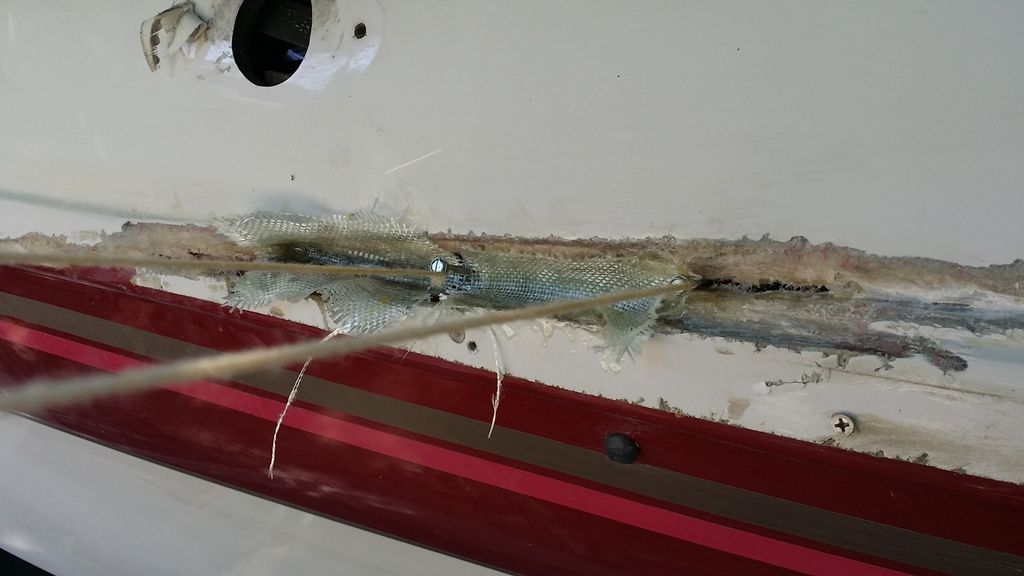
7. Alternate, woven fabric and fiberglass, over and over again, sanding in between till you have it filled and sandable to match the outside hull. If its at the hull line where both top and bottom come together, dont worry about lining it up. You will dremel the extra off later and the new bumper trim will cover up a lot of it.
8. I DIDNT USE BONDO, IT DOESNT LIKE WATER FROM WHAT I WAS TOLD AND RESEARCHED. I settled with the apoxy/resin and added cotton and glass to it to make it stronger and a durable putty. Cotton worked well for applying and shaping.

9.Paint choice was tough, this is my first boat and I am on a budget so I found a white, water resistant base primer that looked really good. I applied it and let it be.
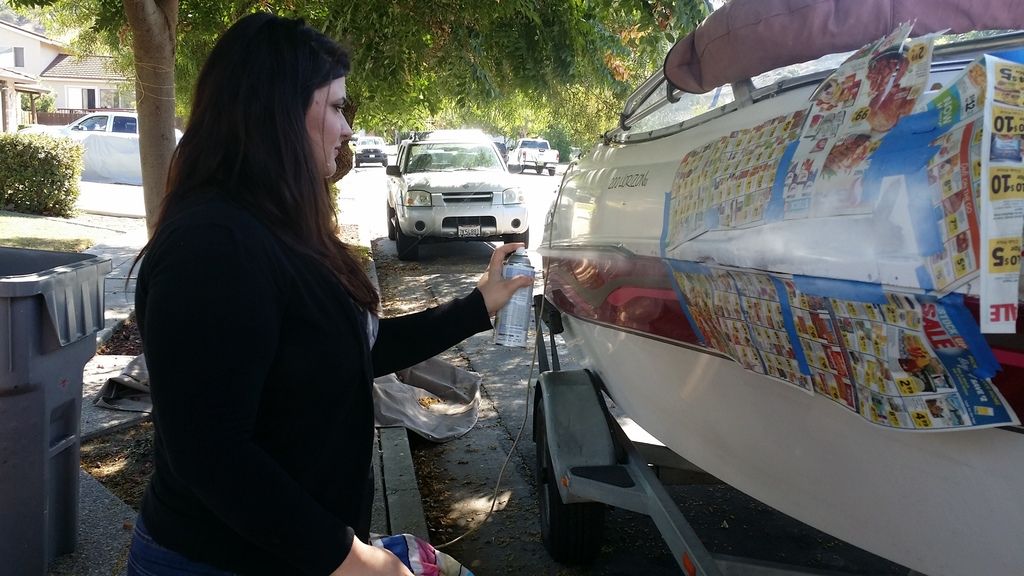
After 2 weeks of work, casually applying a layer a day with sanding after work, she was finished. You be the judge of looks and repair quality. I took it out 2.5 weeks after the damage and she ran great with not water compromise inside the boat. Job well done.
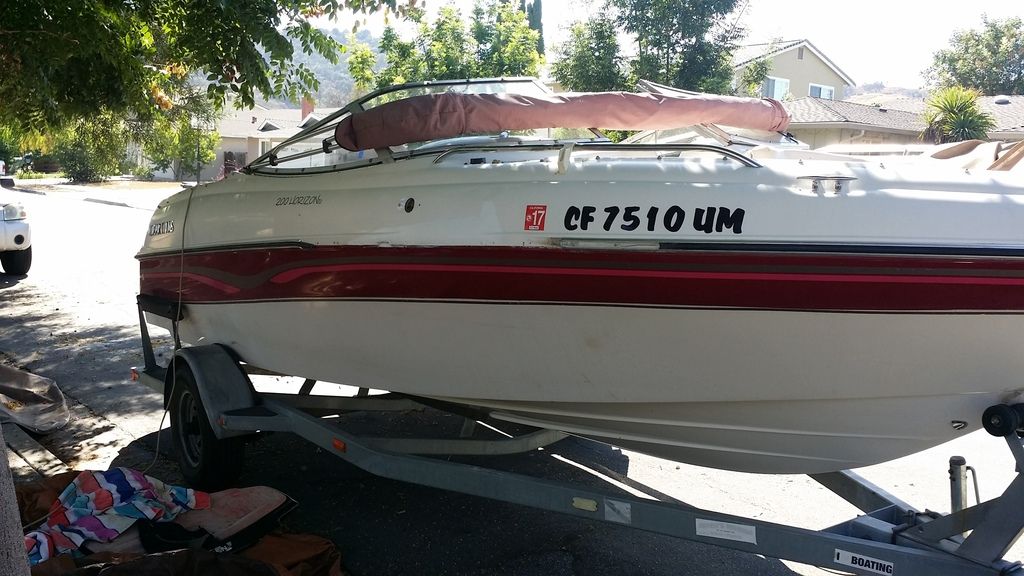
As a first time boat owner I learned a lot from this and I hope you do to in order to keep the boats on the water and not on the side of the freeway. Slap a sticker over it and get back out there


Craig


