All right well I did it. I got fed up with the pounding bow and the poor low speed handling and installed 12" x 12" bennett hydraulic trim tabs. WOW! What a huge difference. This was definitely worth the effort but it did take me six hours to pull it off. It is incredible how much difference it makes between tabs full up and full down. I was pulling a tuber at 15 MPH completely on plane at 500 RPM less than it would have taken without the tabs. The best thing is if I want a big wake ( ie: wakeboarding ), four seconds of "Bow Up" button pressing and the wake doubles in size (back to normal). At 35 MPH, with the tabs about 1/4 down and drive trimmed out about half way, the boat feels so much more solid and stable in the chop. Plus the ability to correct for uneven loads is a big bonus.
So here's how I did it:
12" x 12" trim tabs from Overtons or West Marine. West Marine had a better price at the time I was shopping so I got these:
http://www.westmarine.com/webapp/wcs/stores/servlet/ProductDisplay?productId=20038Two Trim Tab Factory Switches from Four Winns ($18 each and in stock)
http://www.fourwinns.net/partbook/showpart.php?pn=028-1902&qty=2.0000&start=06/01/2004&stop=NA3M Adhesive/Sealant:
http://www.westmarine.com/webapp/wcs/stores/servlet/ProductDisplay?productId=21501I ended up going with the stock 12" square tabs from Bennet instead of buying the custom tabs through Four Winns because everything I read said the 12"x9" tabs Four Winns uses are too small for my hull. Plus the Four Winns tabs were four weeks out and the stock Bennetts were in stock.
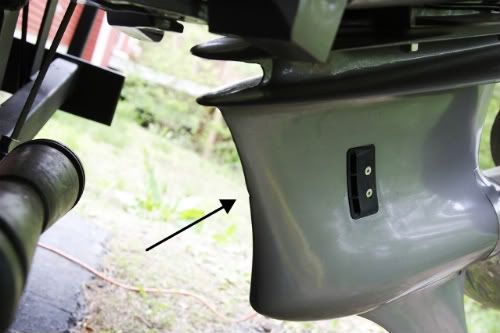
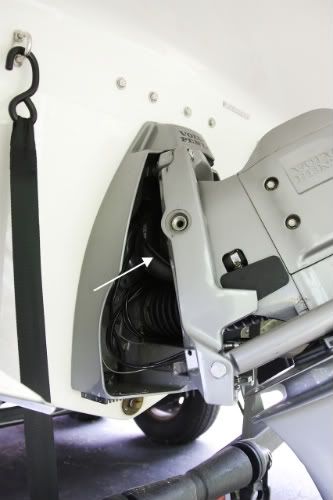
As a stroke of luck, the 2005 Horizon 230 is factory wired for Bennett trim tabs. For the electrical, all I had to do was plug the switches into the wiring that was tucked away behind the dash. See FW Owners Manual for wiring diagrams. The switches go in the two blank spots to the right of the engine hatch switch and look completely factory. The hydraulic pump unit plugs right into the electrical connector that was tie-wrapped out of the way on the starboard side of the engine compartment. One ground connection to the engine ground stud and finished. It does not get much easier than that.
The mechanical part was much more involved. Firstly, the transom of my boat is clearly not designed for trim tabs. I knew this going into the project but it is worth saying again to warn anyone who might be confused and think this is a drop-in project. Firstly, I had to move my speedometer pickup about two inches closer to the drive to make room for the starboard tab. I then measured the brackets to see how much I was going to have to bend them to match the shape of my transom. I used an abrasive cutting wheel to cut the stainless steel and then used a 1.75" OD steel tube as a mandrel and beat it with a BFH until it matched the shape I needed. There was a lot of beat it with a hammer, test fit, repeat.....
Finally, I tried to follow the Bennett instructions and use a 9/64 pilot hole for the #10 mounting screws. Sheared off two screws with this tactic. Stainless is very brittle. Re-drilled with 5/32 pilot holes and they went in perfectly with my Dewalt impact driver. Don't forget to over bore the gelcoat to eliminate stress cracking and liberally apply a marine sealant to all screws. Mounting the hydraulic rams and doing the plumbing went just like the Bennett Installation Manual said. I temporarily screwed two pieces of scrap lumber to the trailer bunks to help hold the tabs up while I was mounting the rams. I mounted the hydraulic unit just behind the starboard hatch lift motor. It looks completely factory except you can tell the mounting brackets were modified. Oh well. Maybe I'll come up with some kind of a trim to go over the stainless bracket. Probably not.
All in all, it was a good project with very good results. Much happier now with my boat's performance. For $500 and six hours of work, it was well worth it.
_________________
Jim
Richmond, Virginia
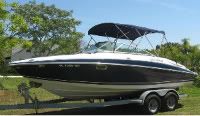
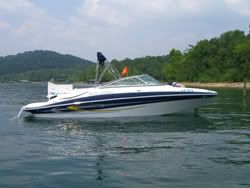
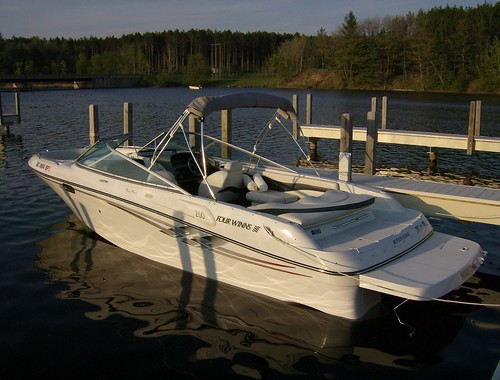
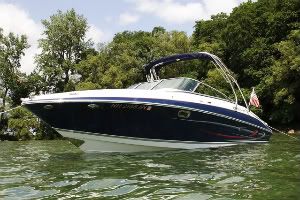
2005 Horizon 230 w/ Volvo 5.7GXI Duoprop
Towed by: 2007 Chevy Tahoe 4x4 LTZ


